In the previous article
in this series, we examined how InDesign’s frames are far more like a <div> than a text box, and how their unique features can help us construct dynamic content in the static environment of print. In this third article, we will see how anchors can duplicate even more features of HTML and CSS, allowing us as graphic designers to tap into the power that front-end developers enjoy with their tools.
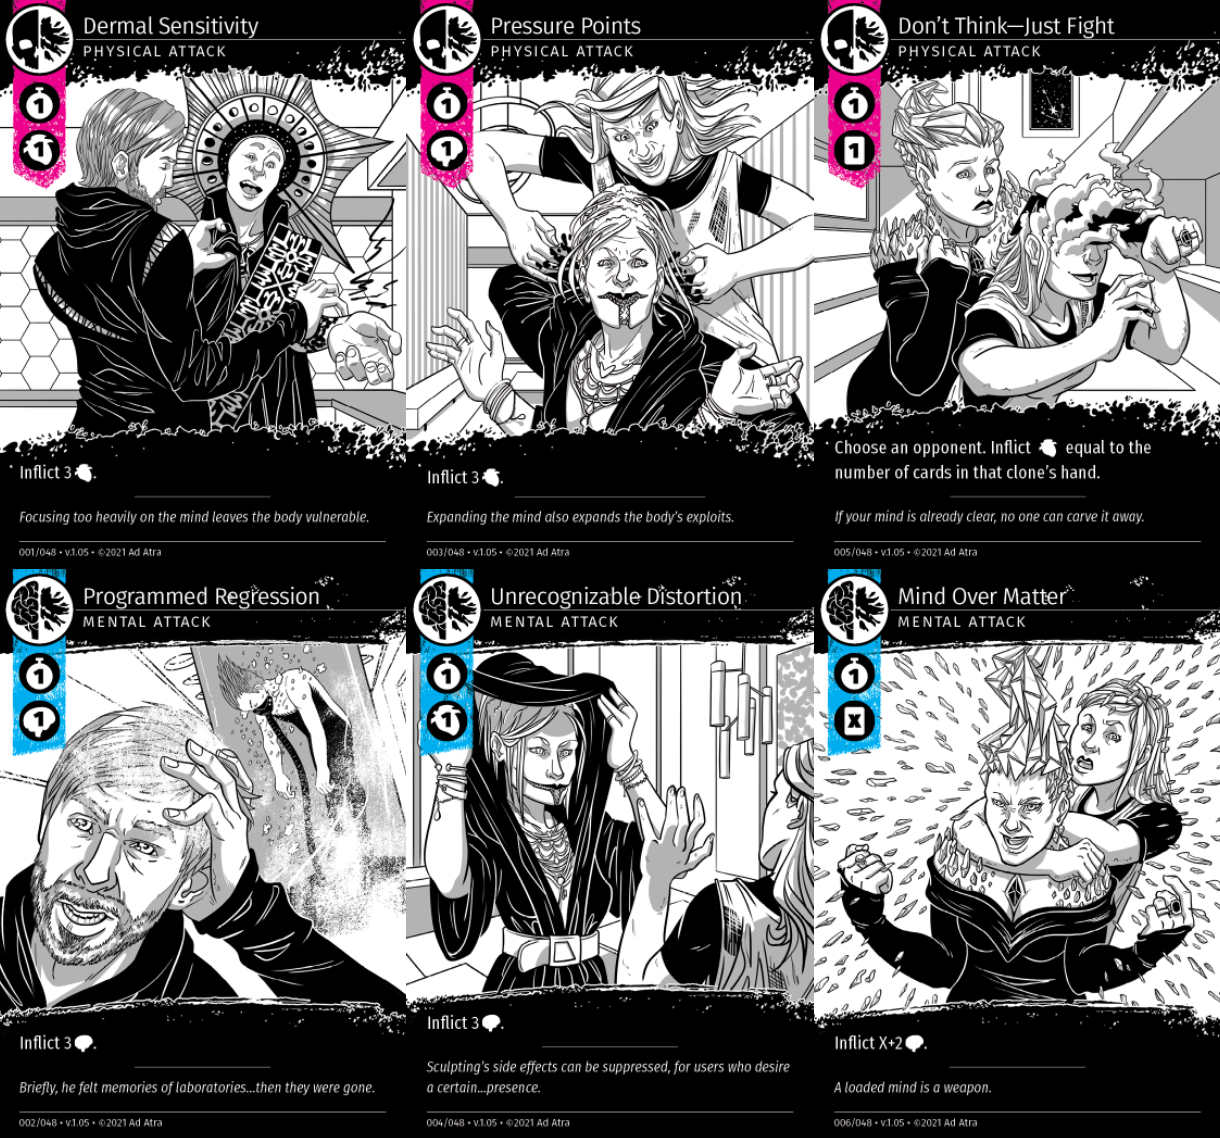
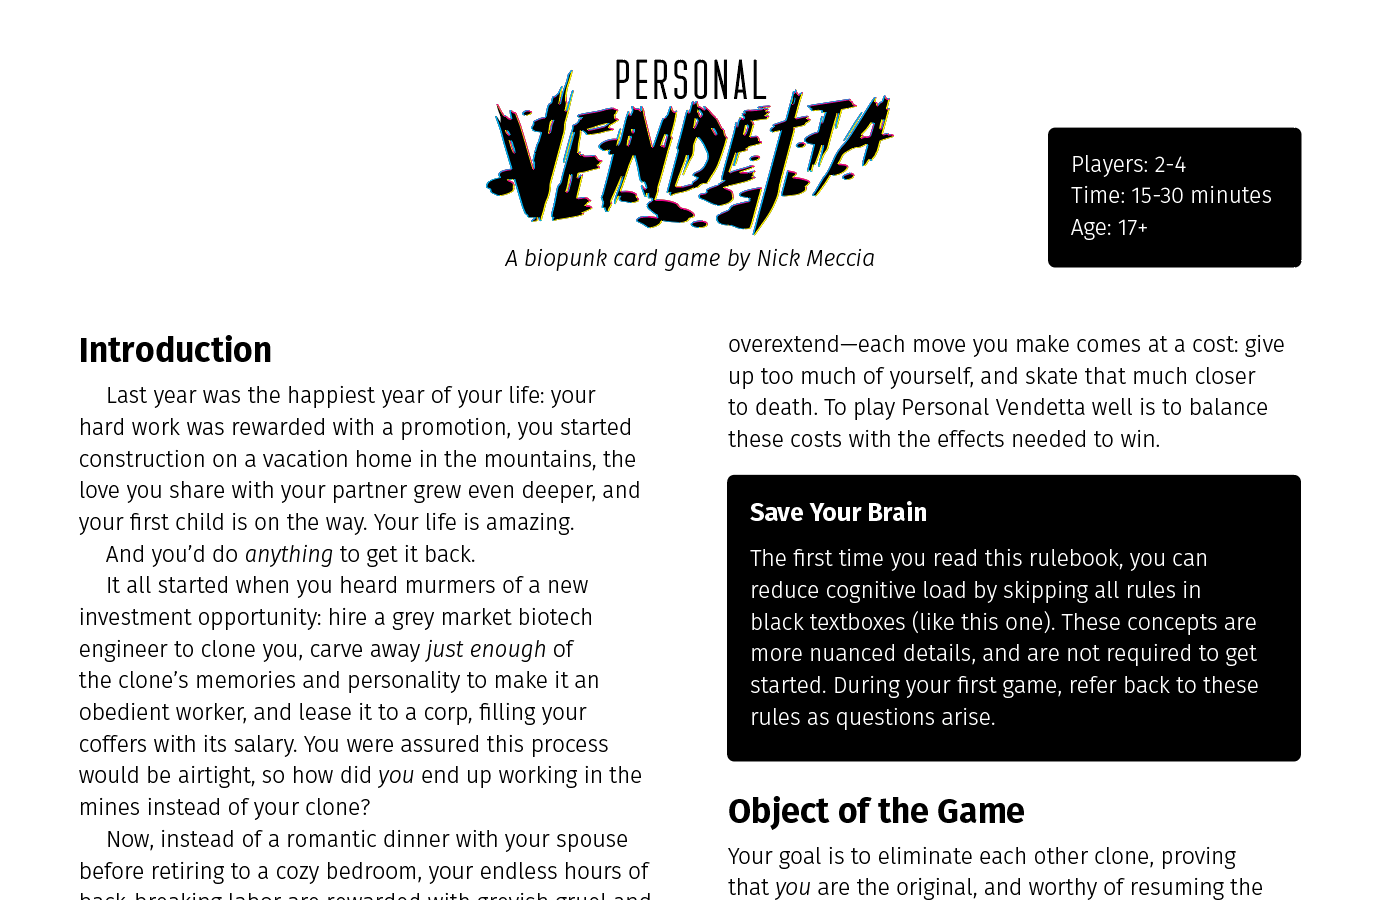
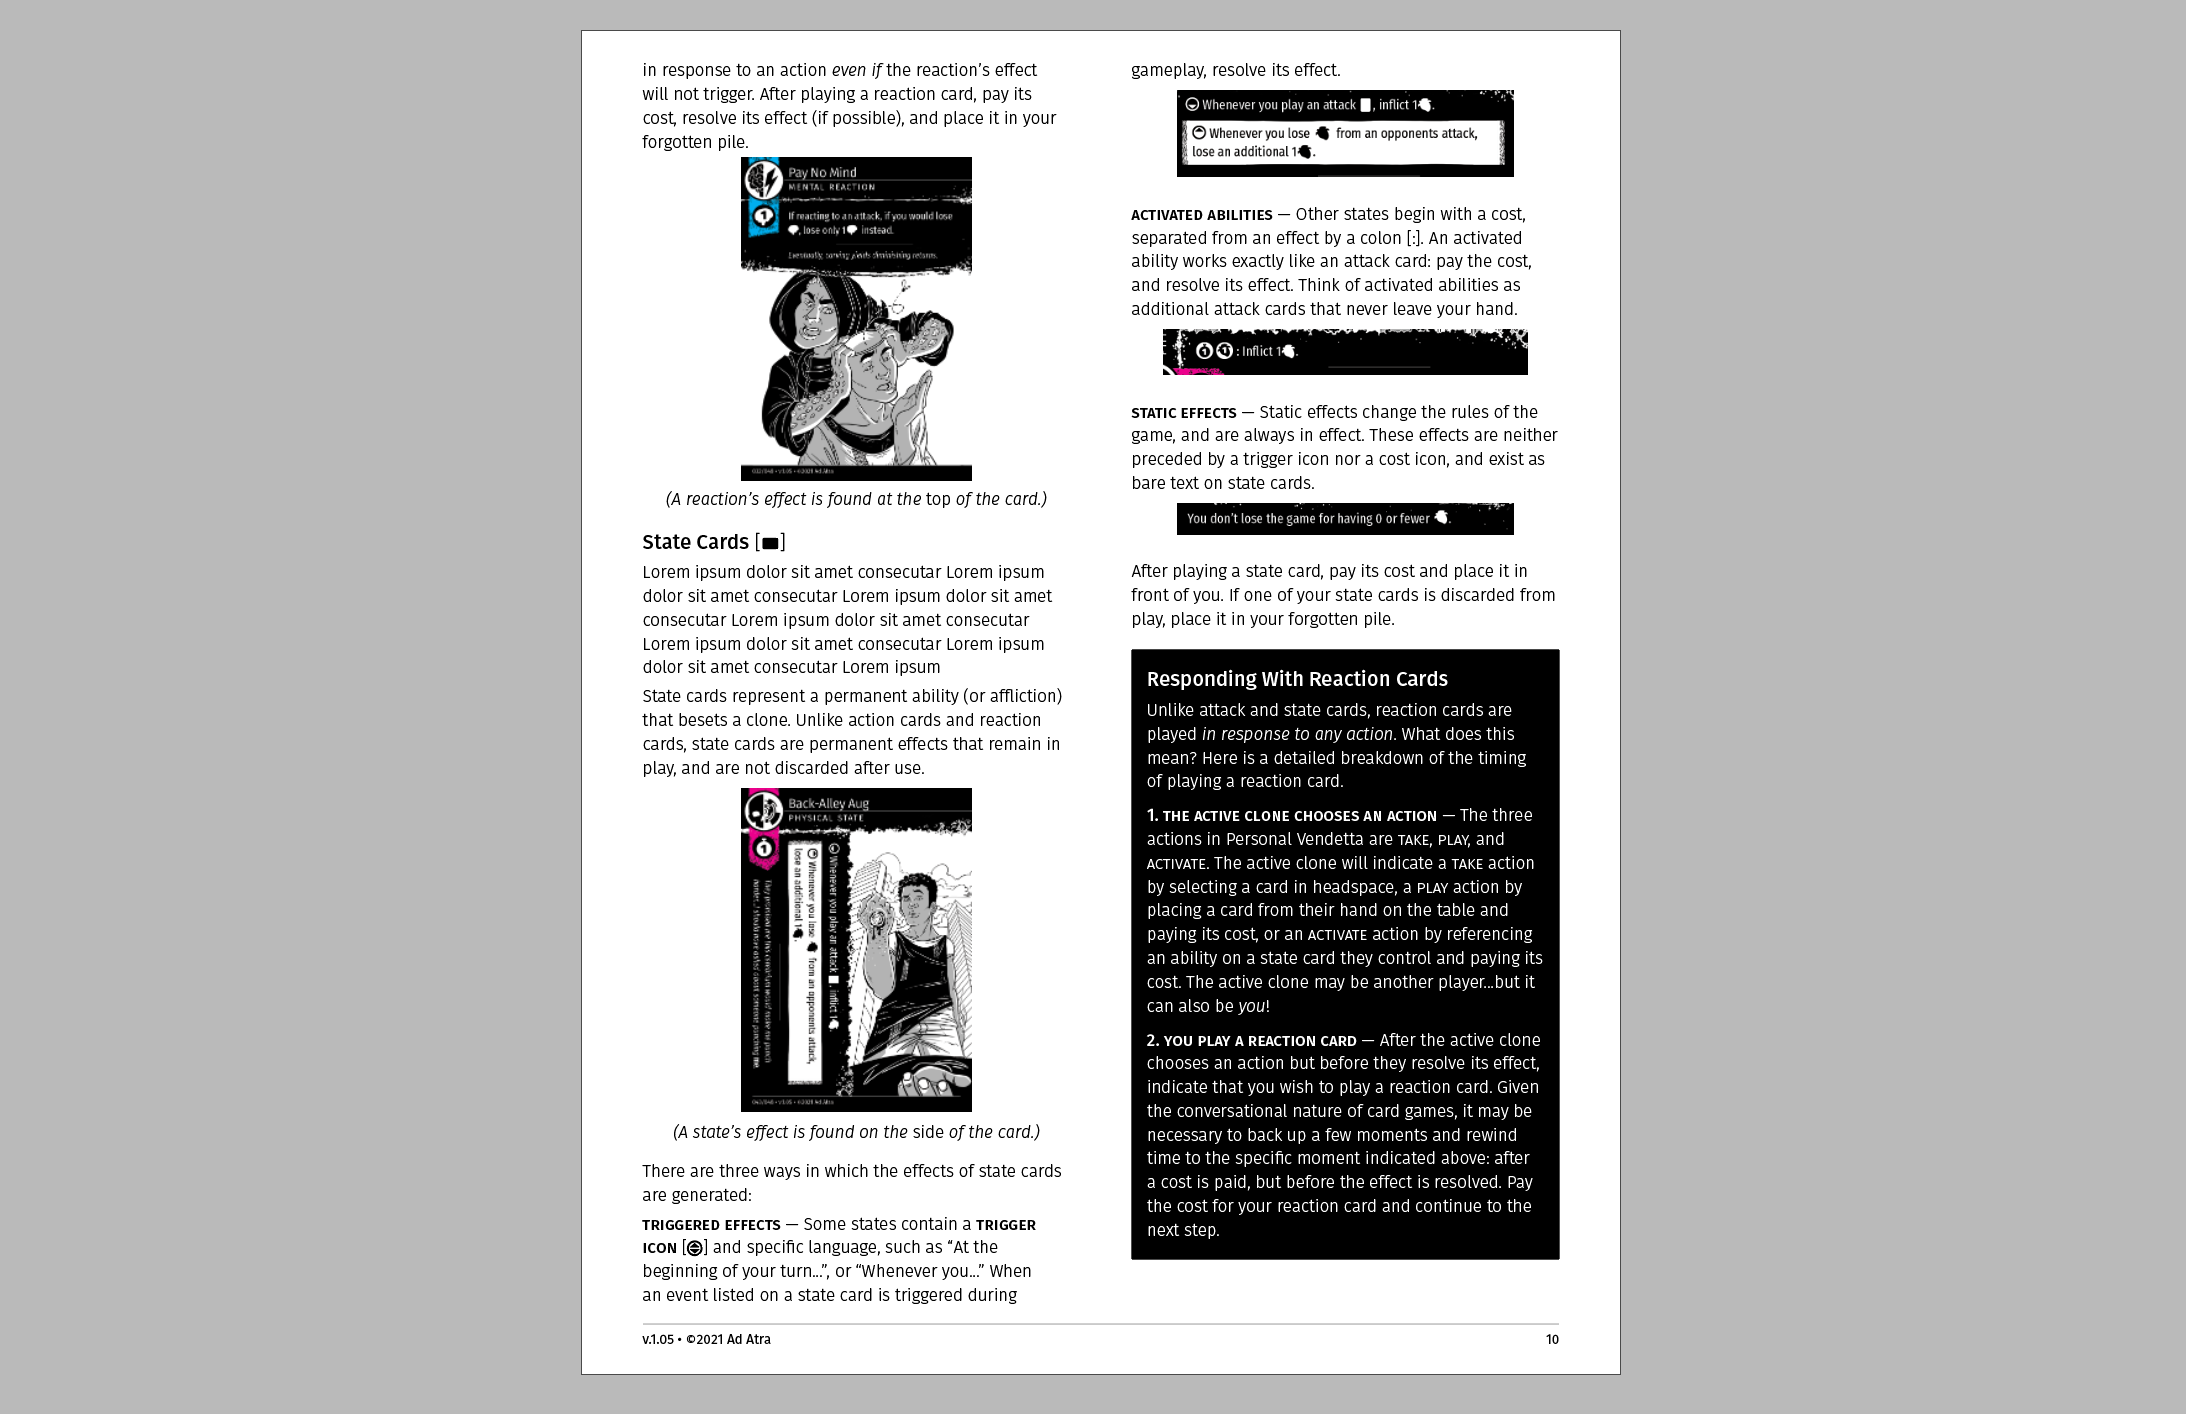
This article will be using examples from my card game Personal Vendetta, which is available as a free print-and-play download from https://ad-atra.com.
Anchors + Frames
The tutorial from my last article ended with the notion that, because frames can accommodate any type of object, placing the entire contents of your document into a single thread of linked frames is a great way to allow for dynamic updates and changes to a work-in-progress document. For example, copy changes made to this page...

...Automatically shift all following content down.
At a glance, each paragraph, image, and shape appears to be a separate frame on the page...but they are all connected in a single, linked frame! Gone are the days of endless micro-adjustments.
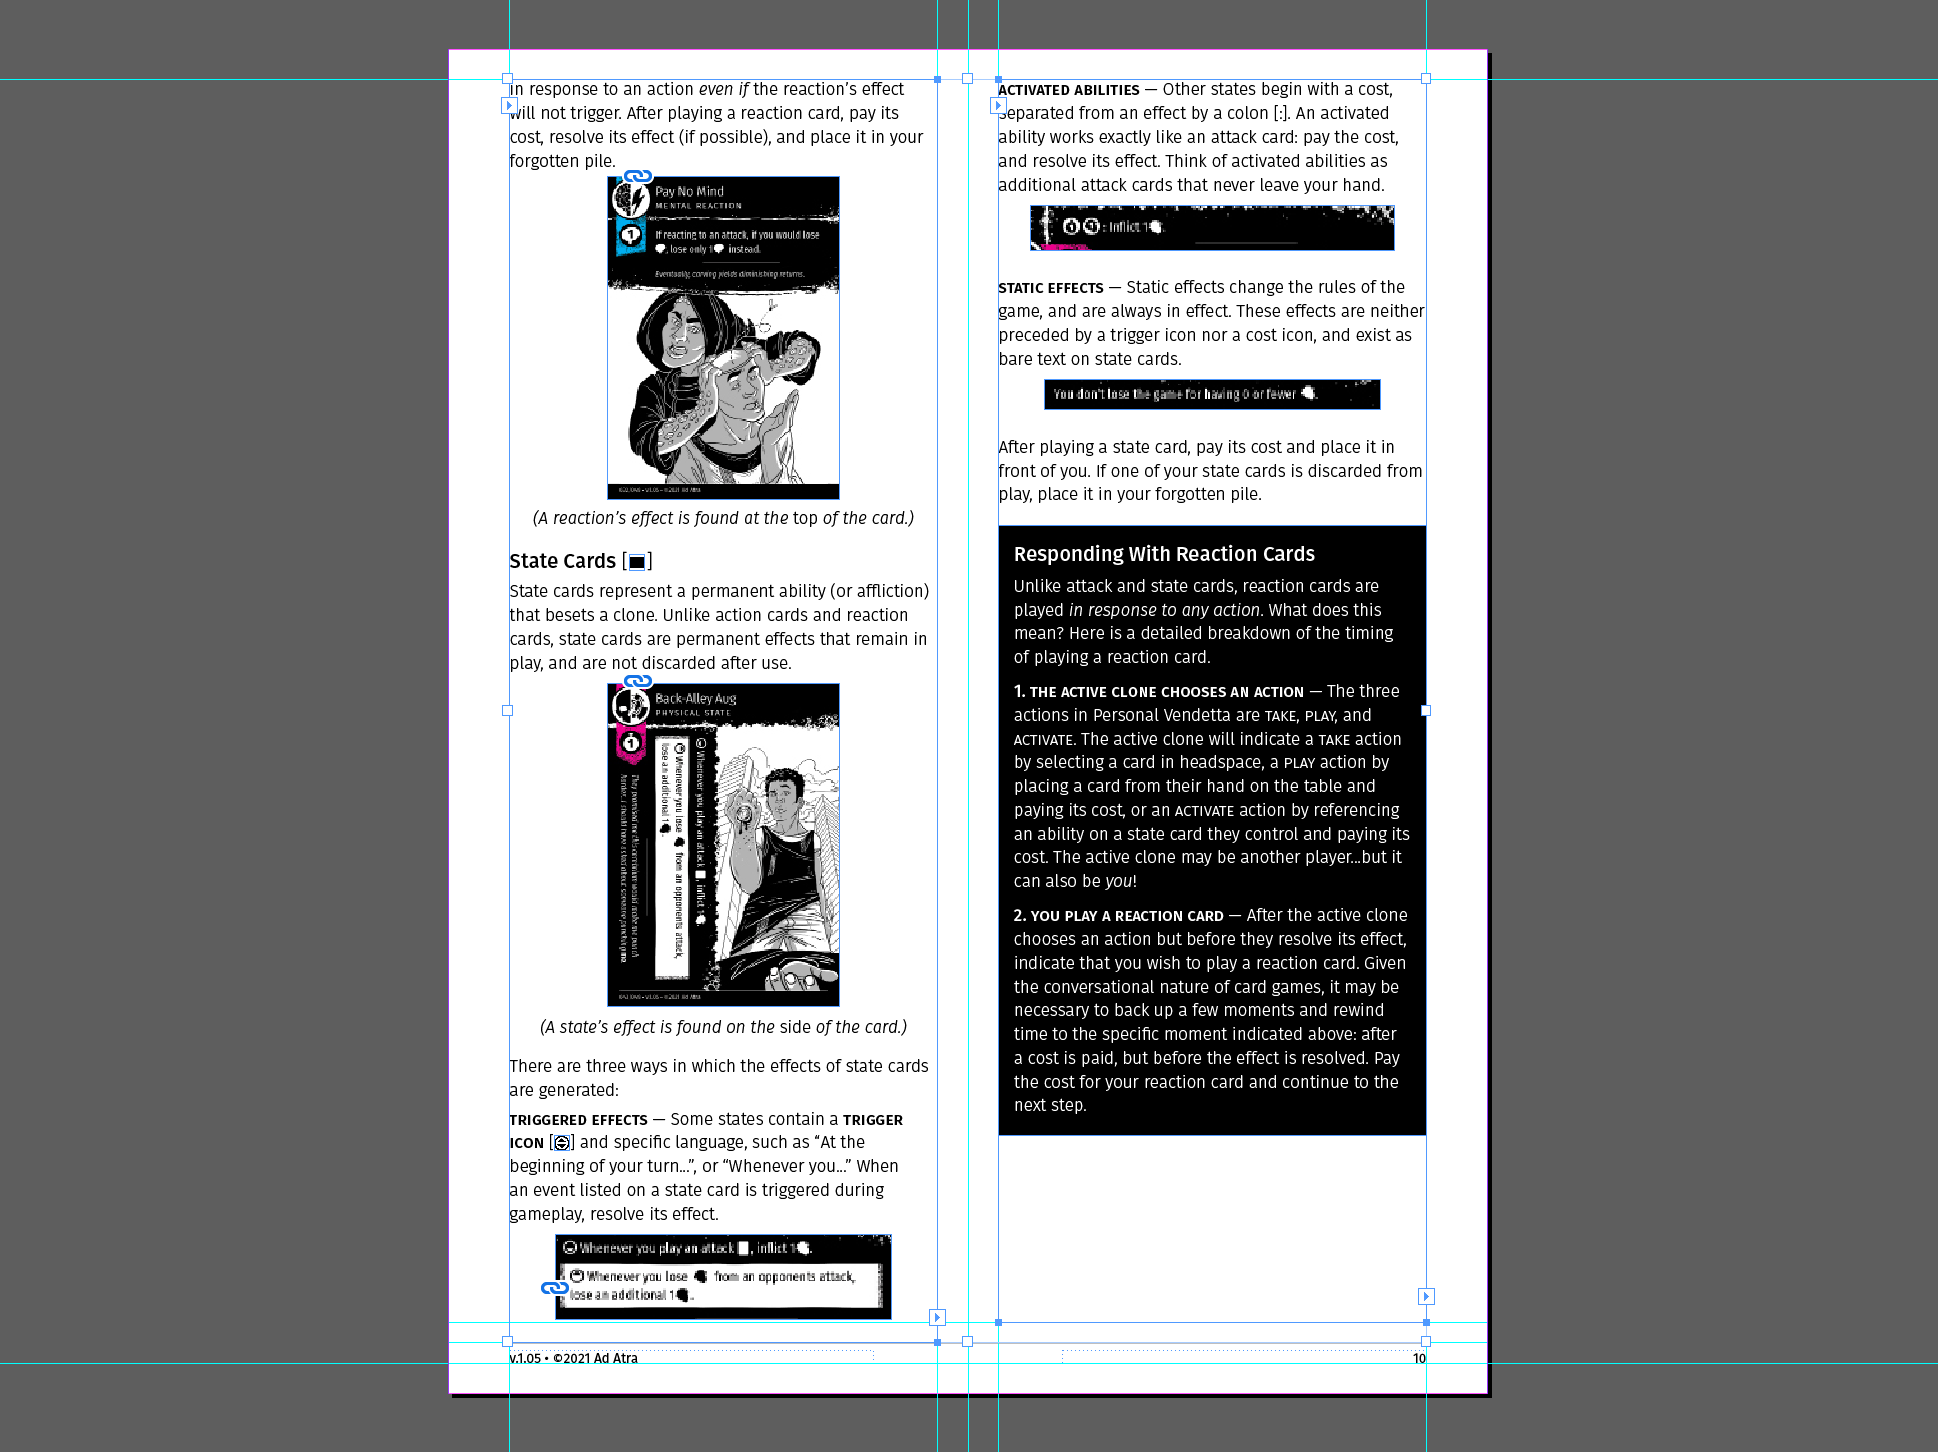
Except...what if your design idea doesn’t work with this single-frame style? For example, how could a frame accommodate the following five-column layout?

This layout has a clear path for the text to follow, but we can’t place the image in the frame because it needs to extend outside of the frame. It seems like the image needs to be manually adjusted with each copy change...right?
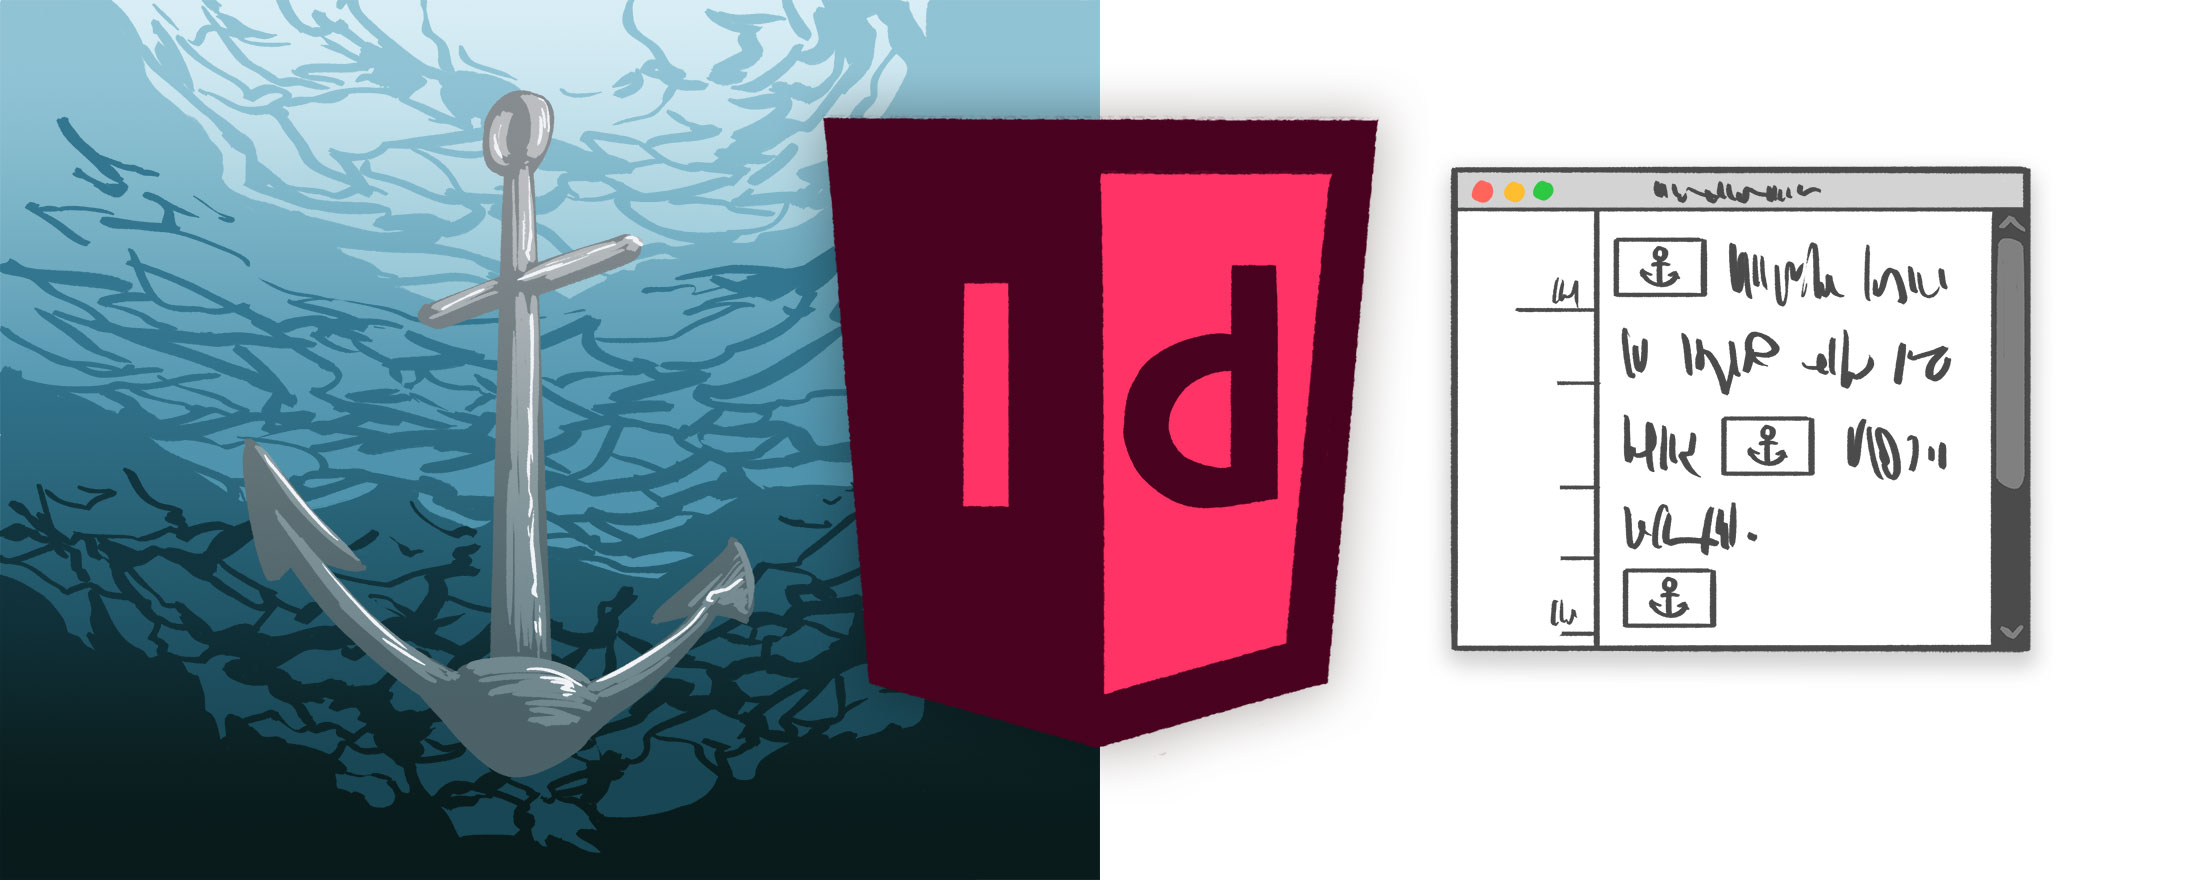
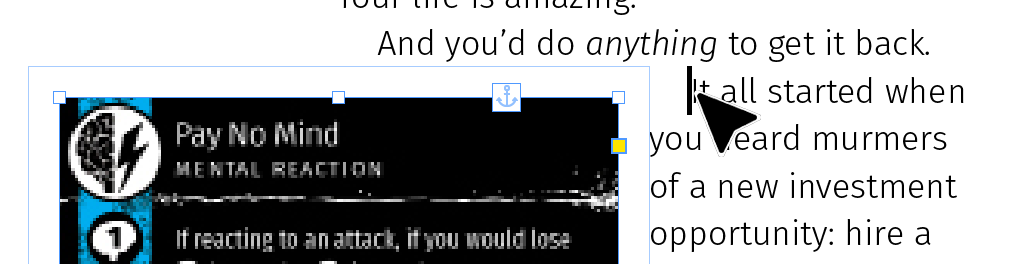
This is where anchors come in. Instead of placing the image into the frame, we can place a reference to the image’s position, known as an anchor. Let's anchor this image to the main frame so that it moves with the text!
Click and drag this blue anchor…

... into the target frame.
Now, as the content changes...
...so, too, does the position of the image.
This is useful behavior for images which correspond to specific sections of text. If my image is described by the text immediately to the right, then I want it to move when that specific section of text moves.
But, what if I want to edit or delete the anchored relationship between the frame and the image? The method I demonstrated above doesn’t exactly illuminate how this is possible.
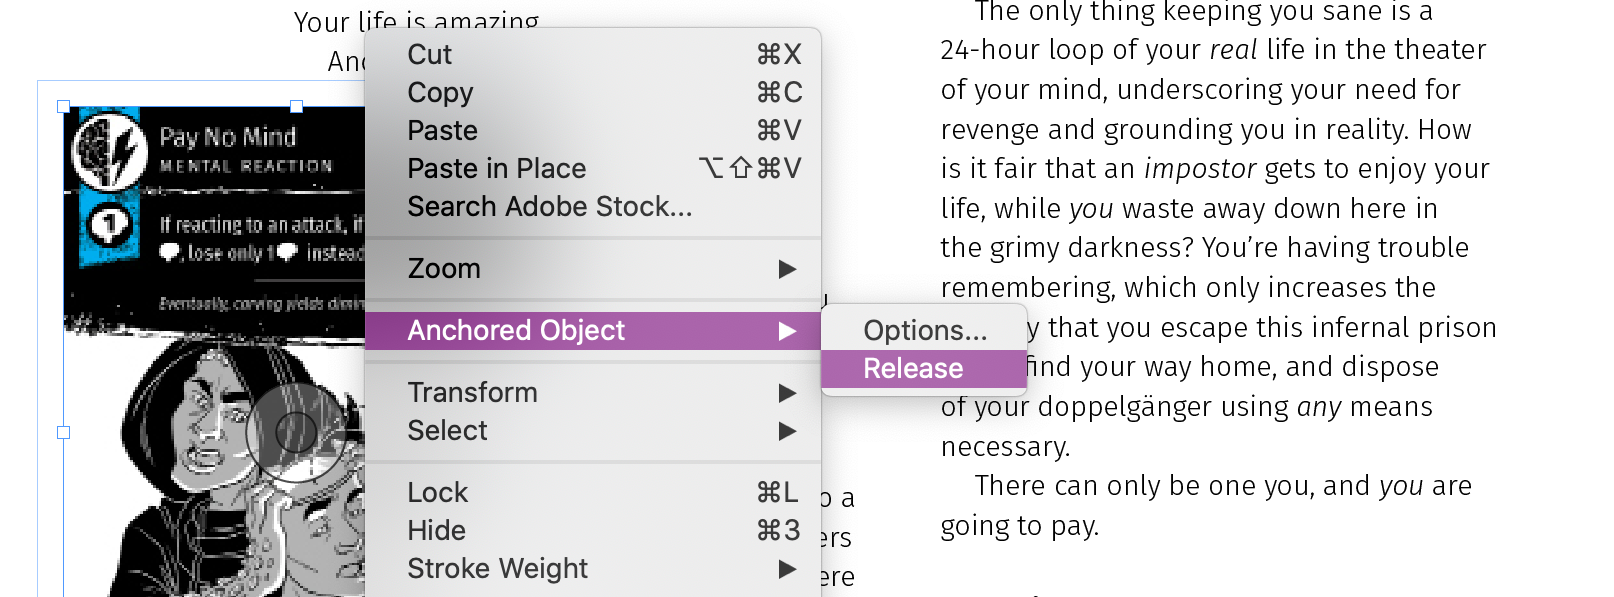
For starters, the simplest way to remove an anchor is to right click on an object and choose Anchored Object > Release.
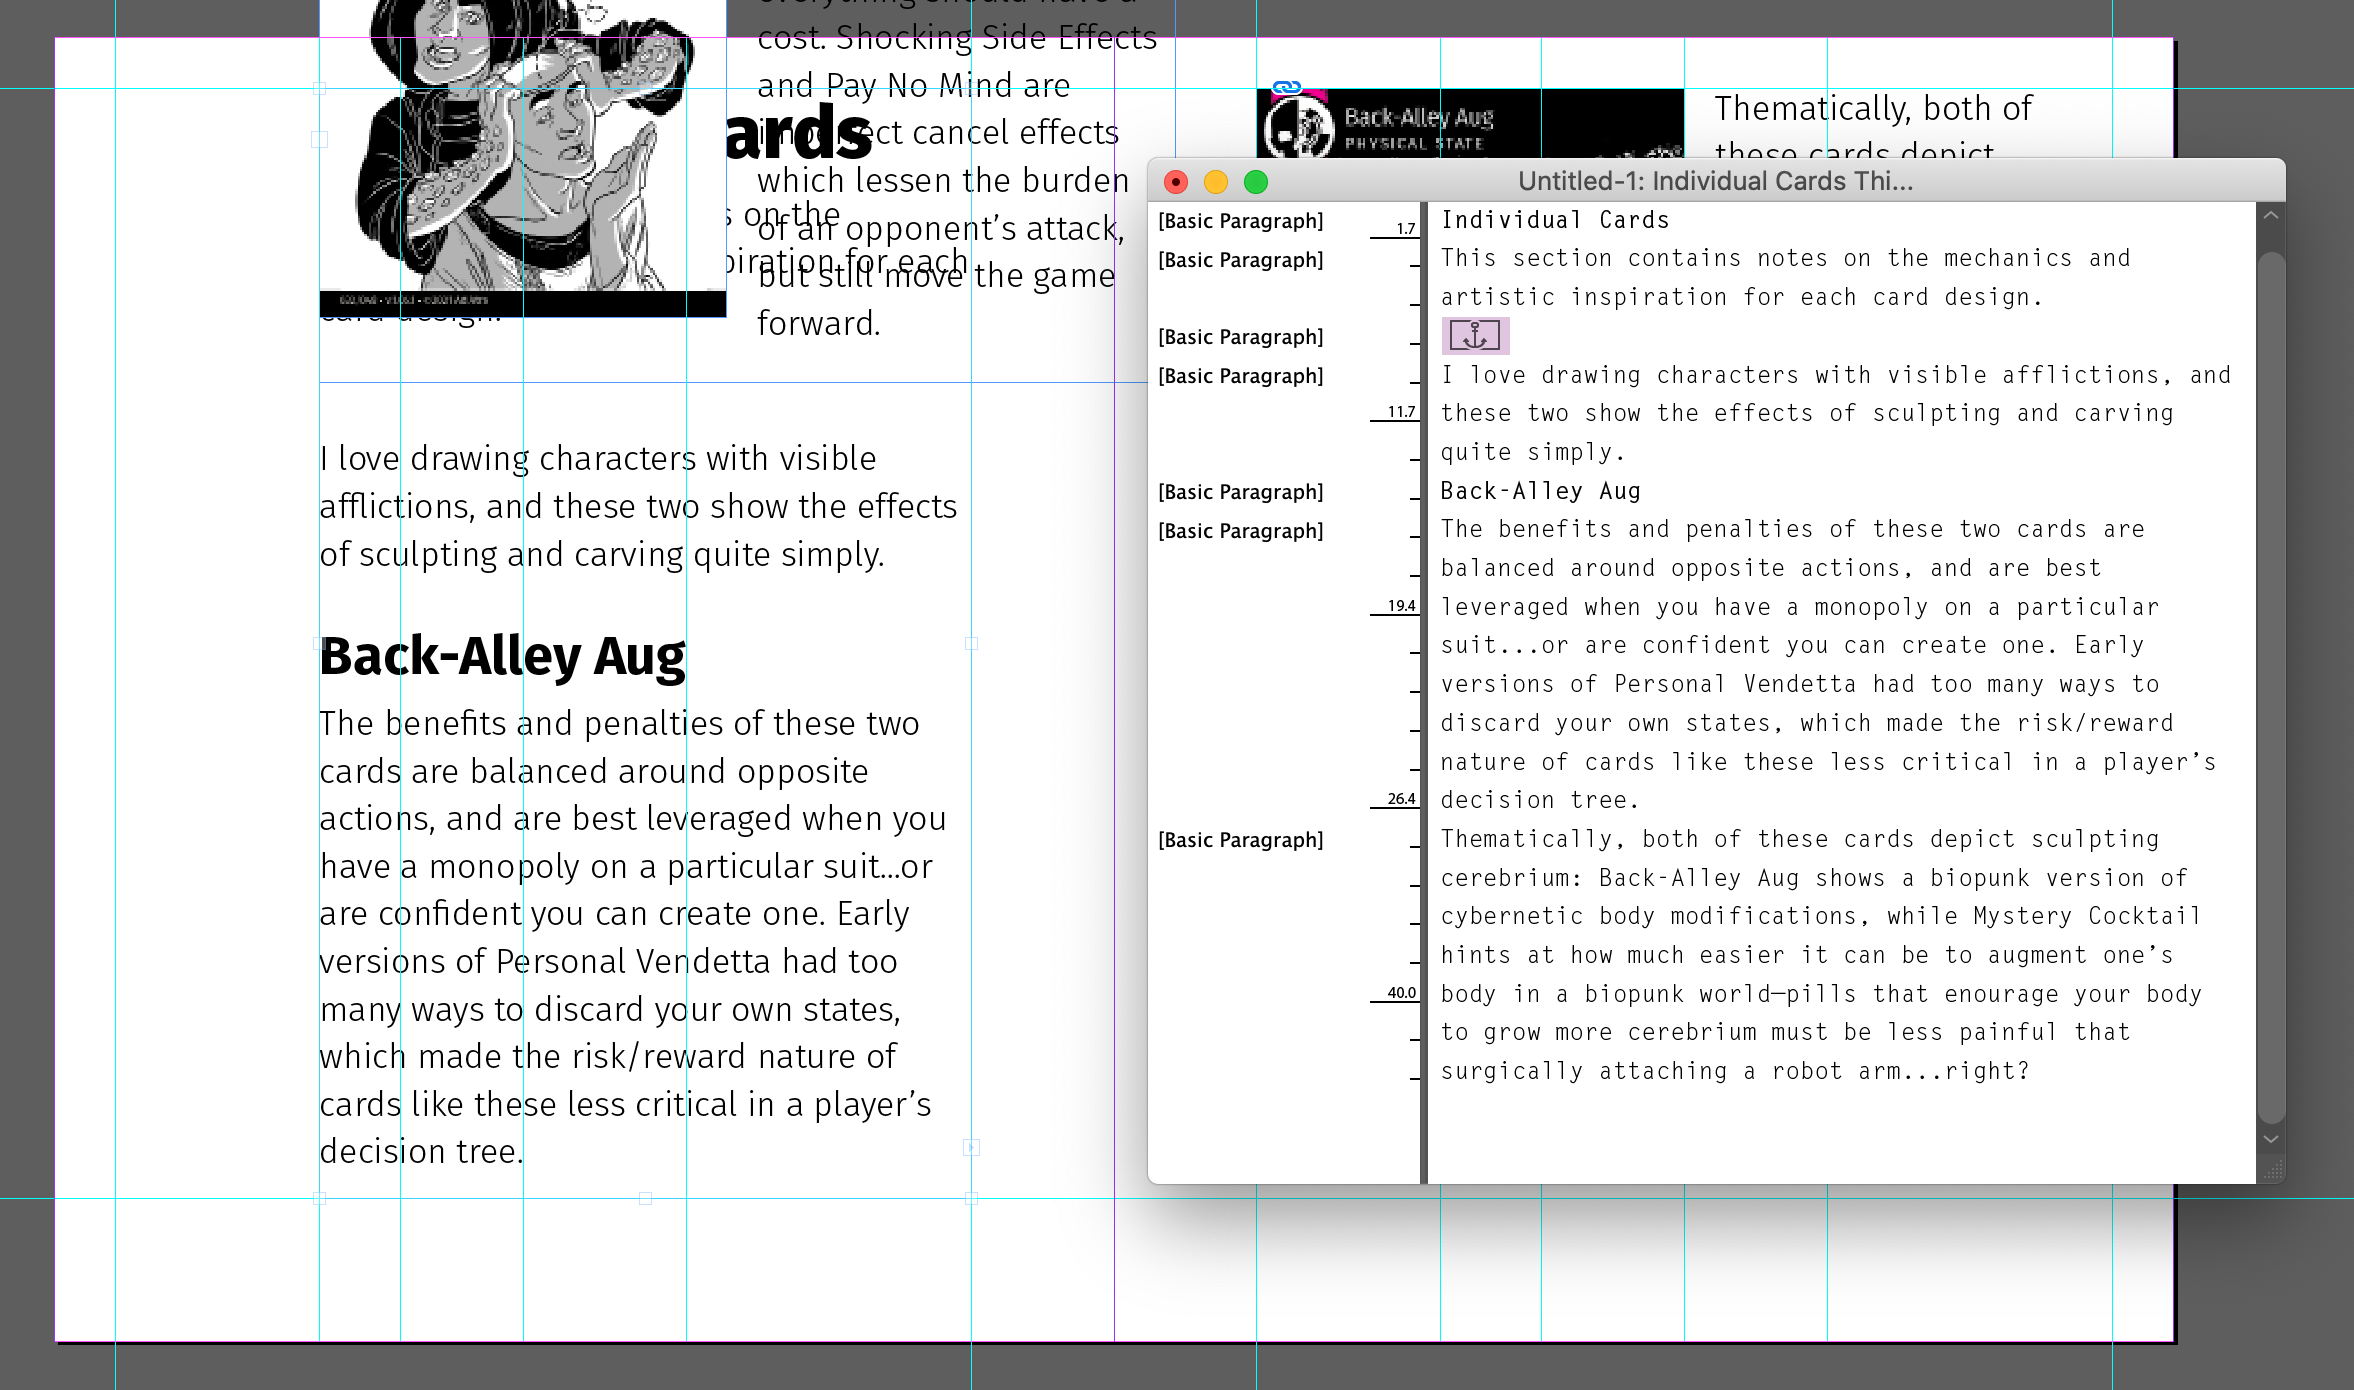
While this is a simple way to undo an anchor, a peek behind the scenes can help us understand anchors better. With the main frame selected, press ⌘+y to open the Story Editor, or select it from Edit > Edit in Story Editor.
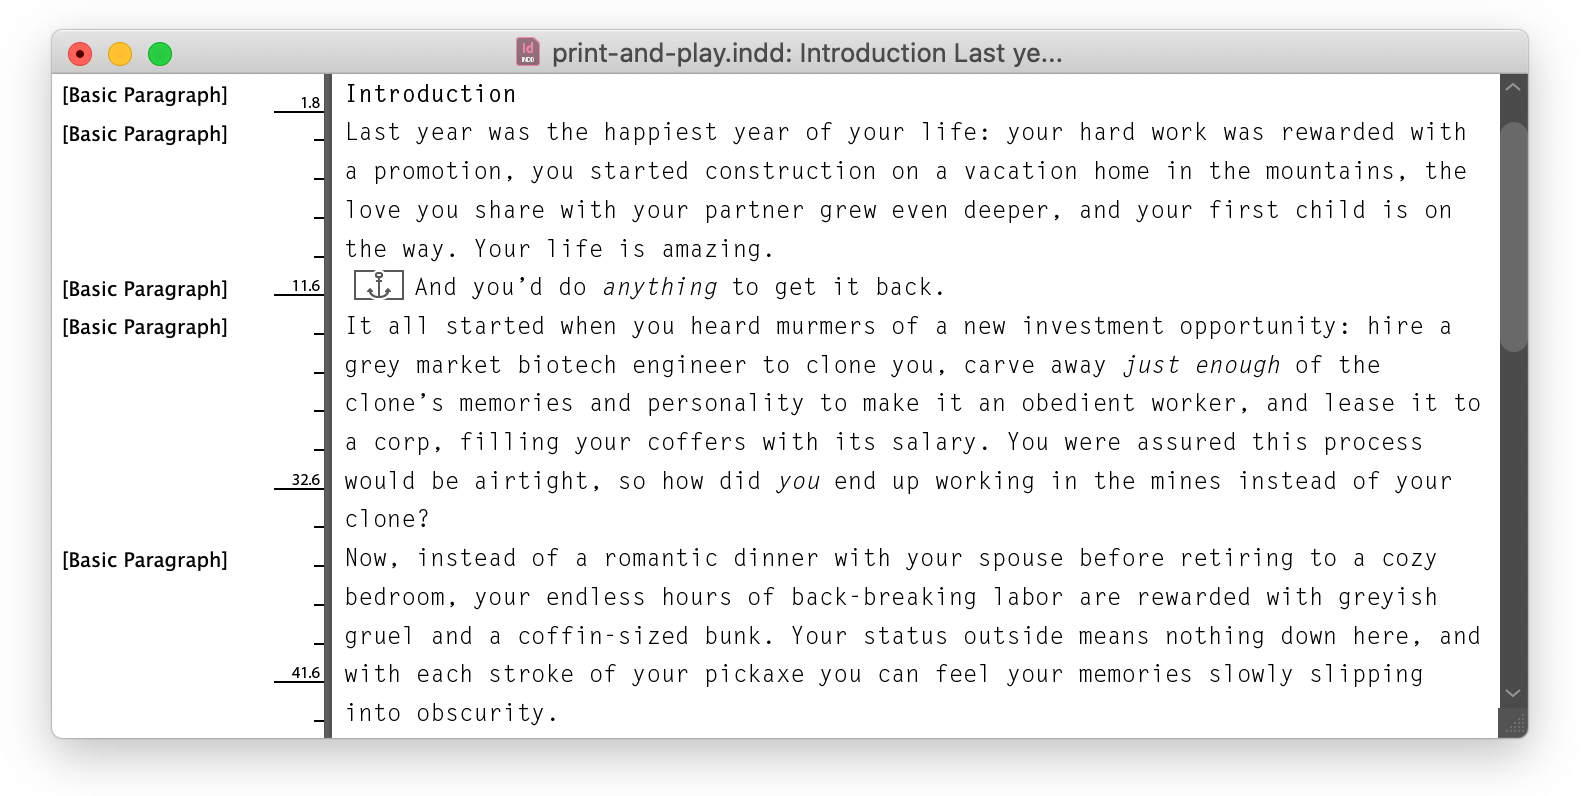
The story editor is a no-frills, text-only peek into the contents of a frame, and from here it is easy to see the exact location where I have anchored my image. This panel makes it easy to delete the anchor, or move it to a different point in the text.
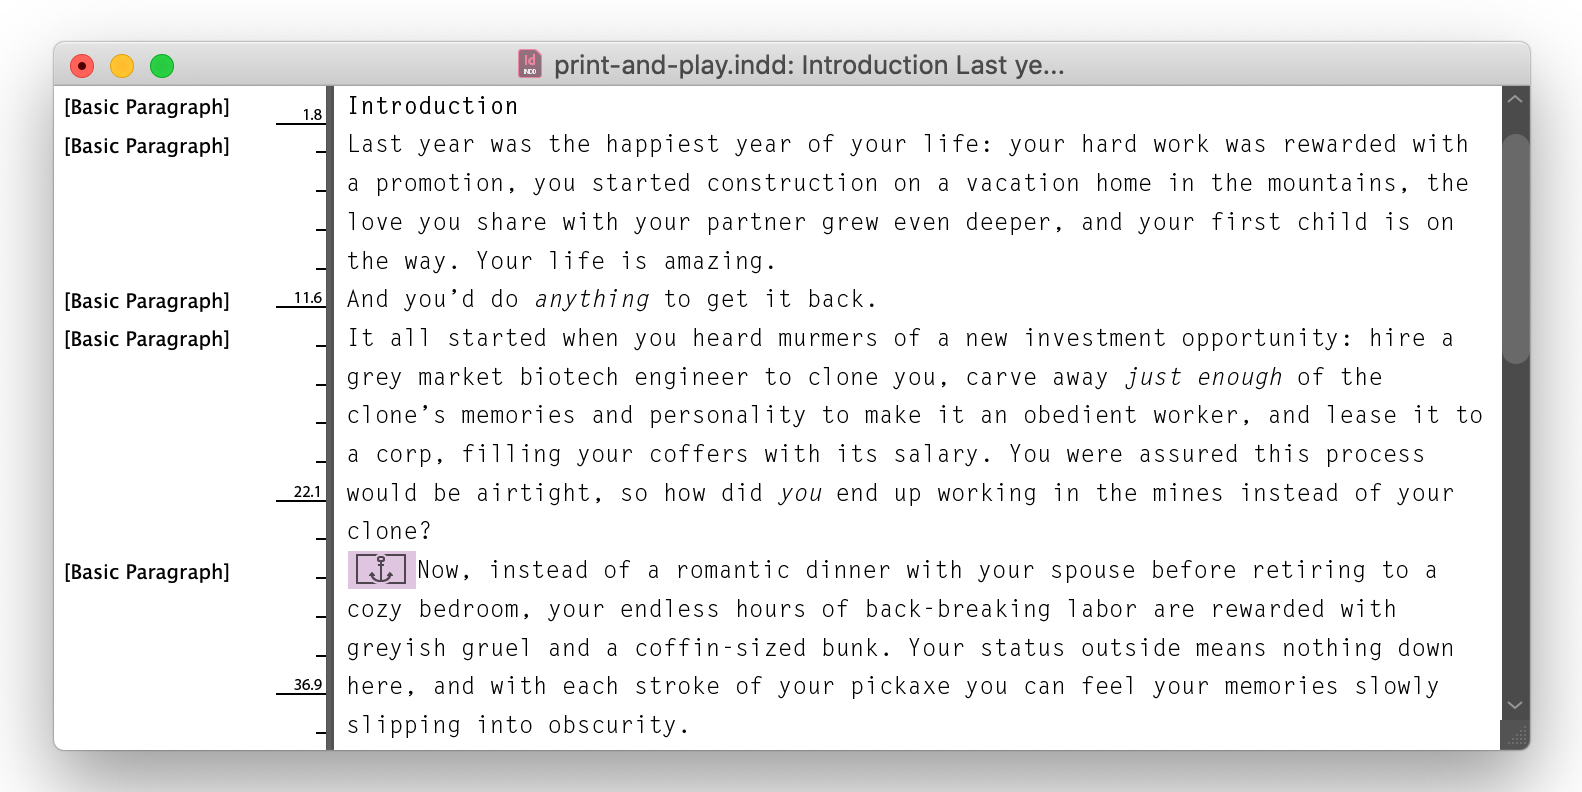
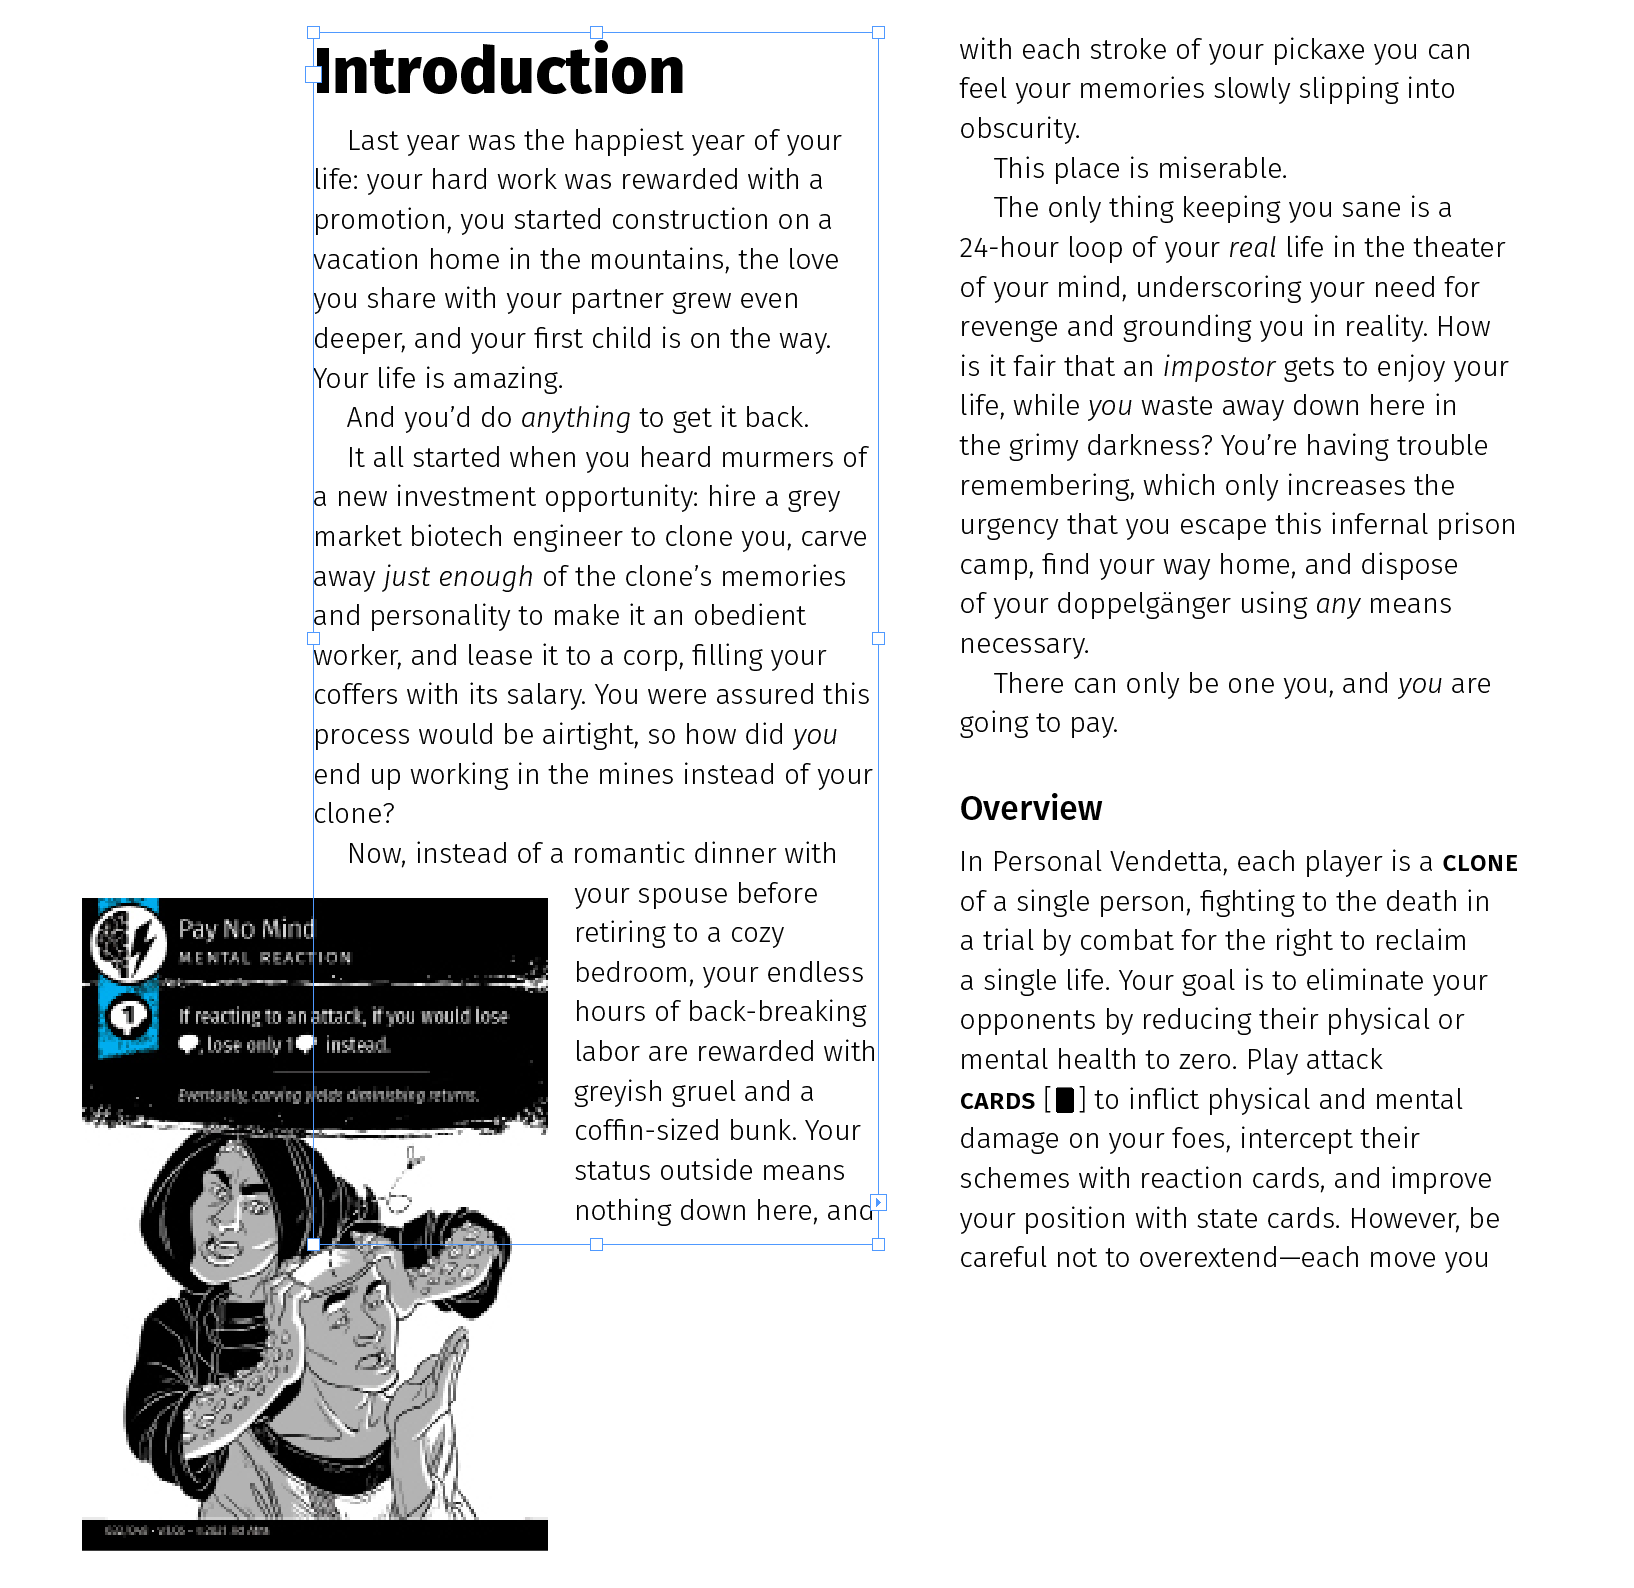
So, in theory this sounds great — images from anywhere on the page can reposition themselves when the content changes. However, the limitations of anchors are already starting to show in the example above: InDesign doesn’t know how to position an image which exceeds the vertical bounds of a frame. The card has fallen off the bottom of the page!
To further demonstrate the extent of this behavior, InDesign considers the anchored object to be no bigger than the anchor character we see in the story editor. Therefore, the anchored object will remain associated with a frame so long as its character exists in the frame, even as the final character.

For reasons such as this, InDesign experts recommend waiting until all content is finalized before adding images and other anchored objects. However, as the goal of this article series is to enjoy a graphic design workflow which dynamically adapts to content changes like a front-end development workflow, we are not going to accept the experts’ advice!
Text Frame Options
With a text frame highlighted, press ⌘+b (or Object > Text Frame Options) to open the Text Frame Options panel. There are many useful controls here, but at this point in the tutorial I would like to call your attention to General > Inset Spacing.
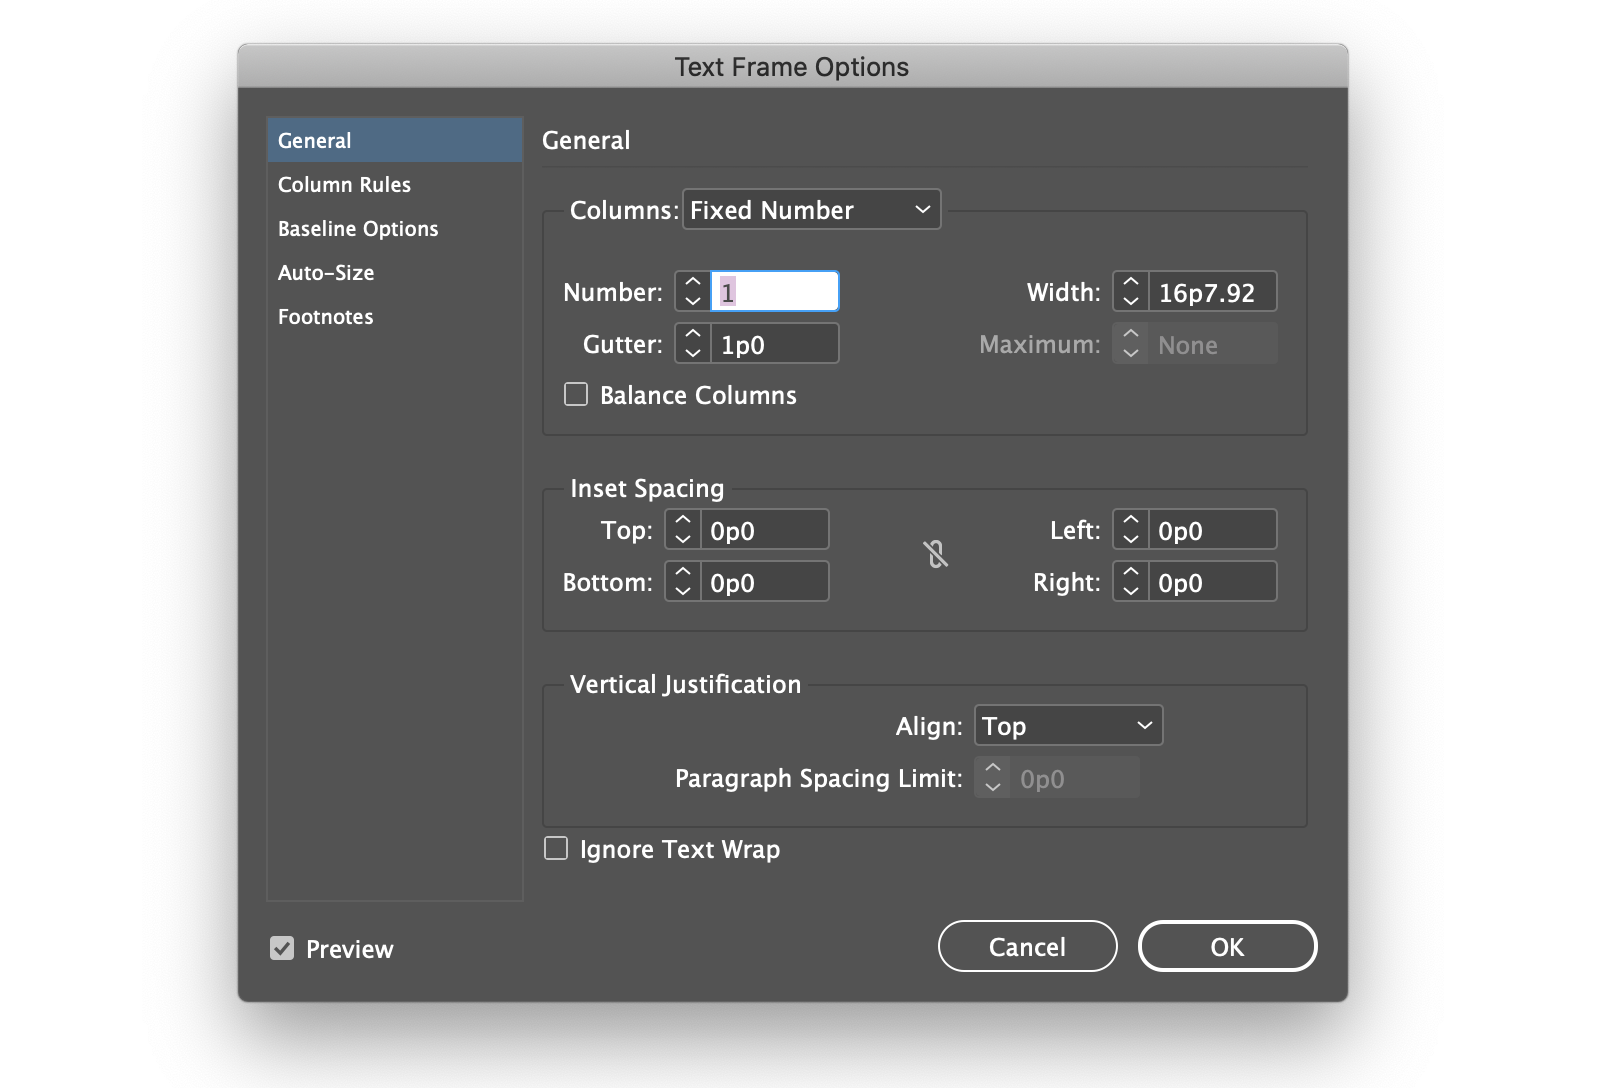
These controls have an identical effect to adding padding to a text frame.
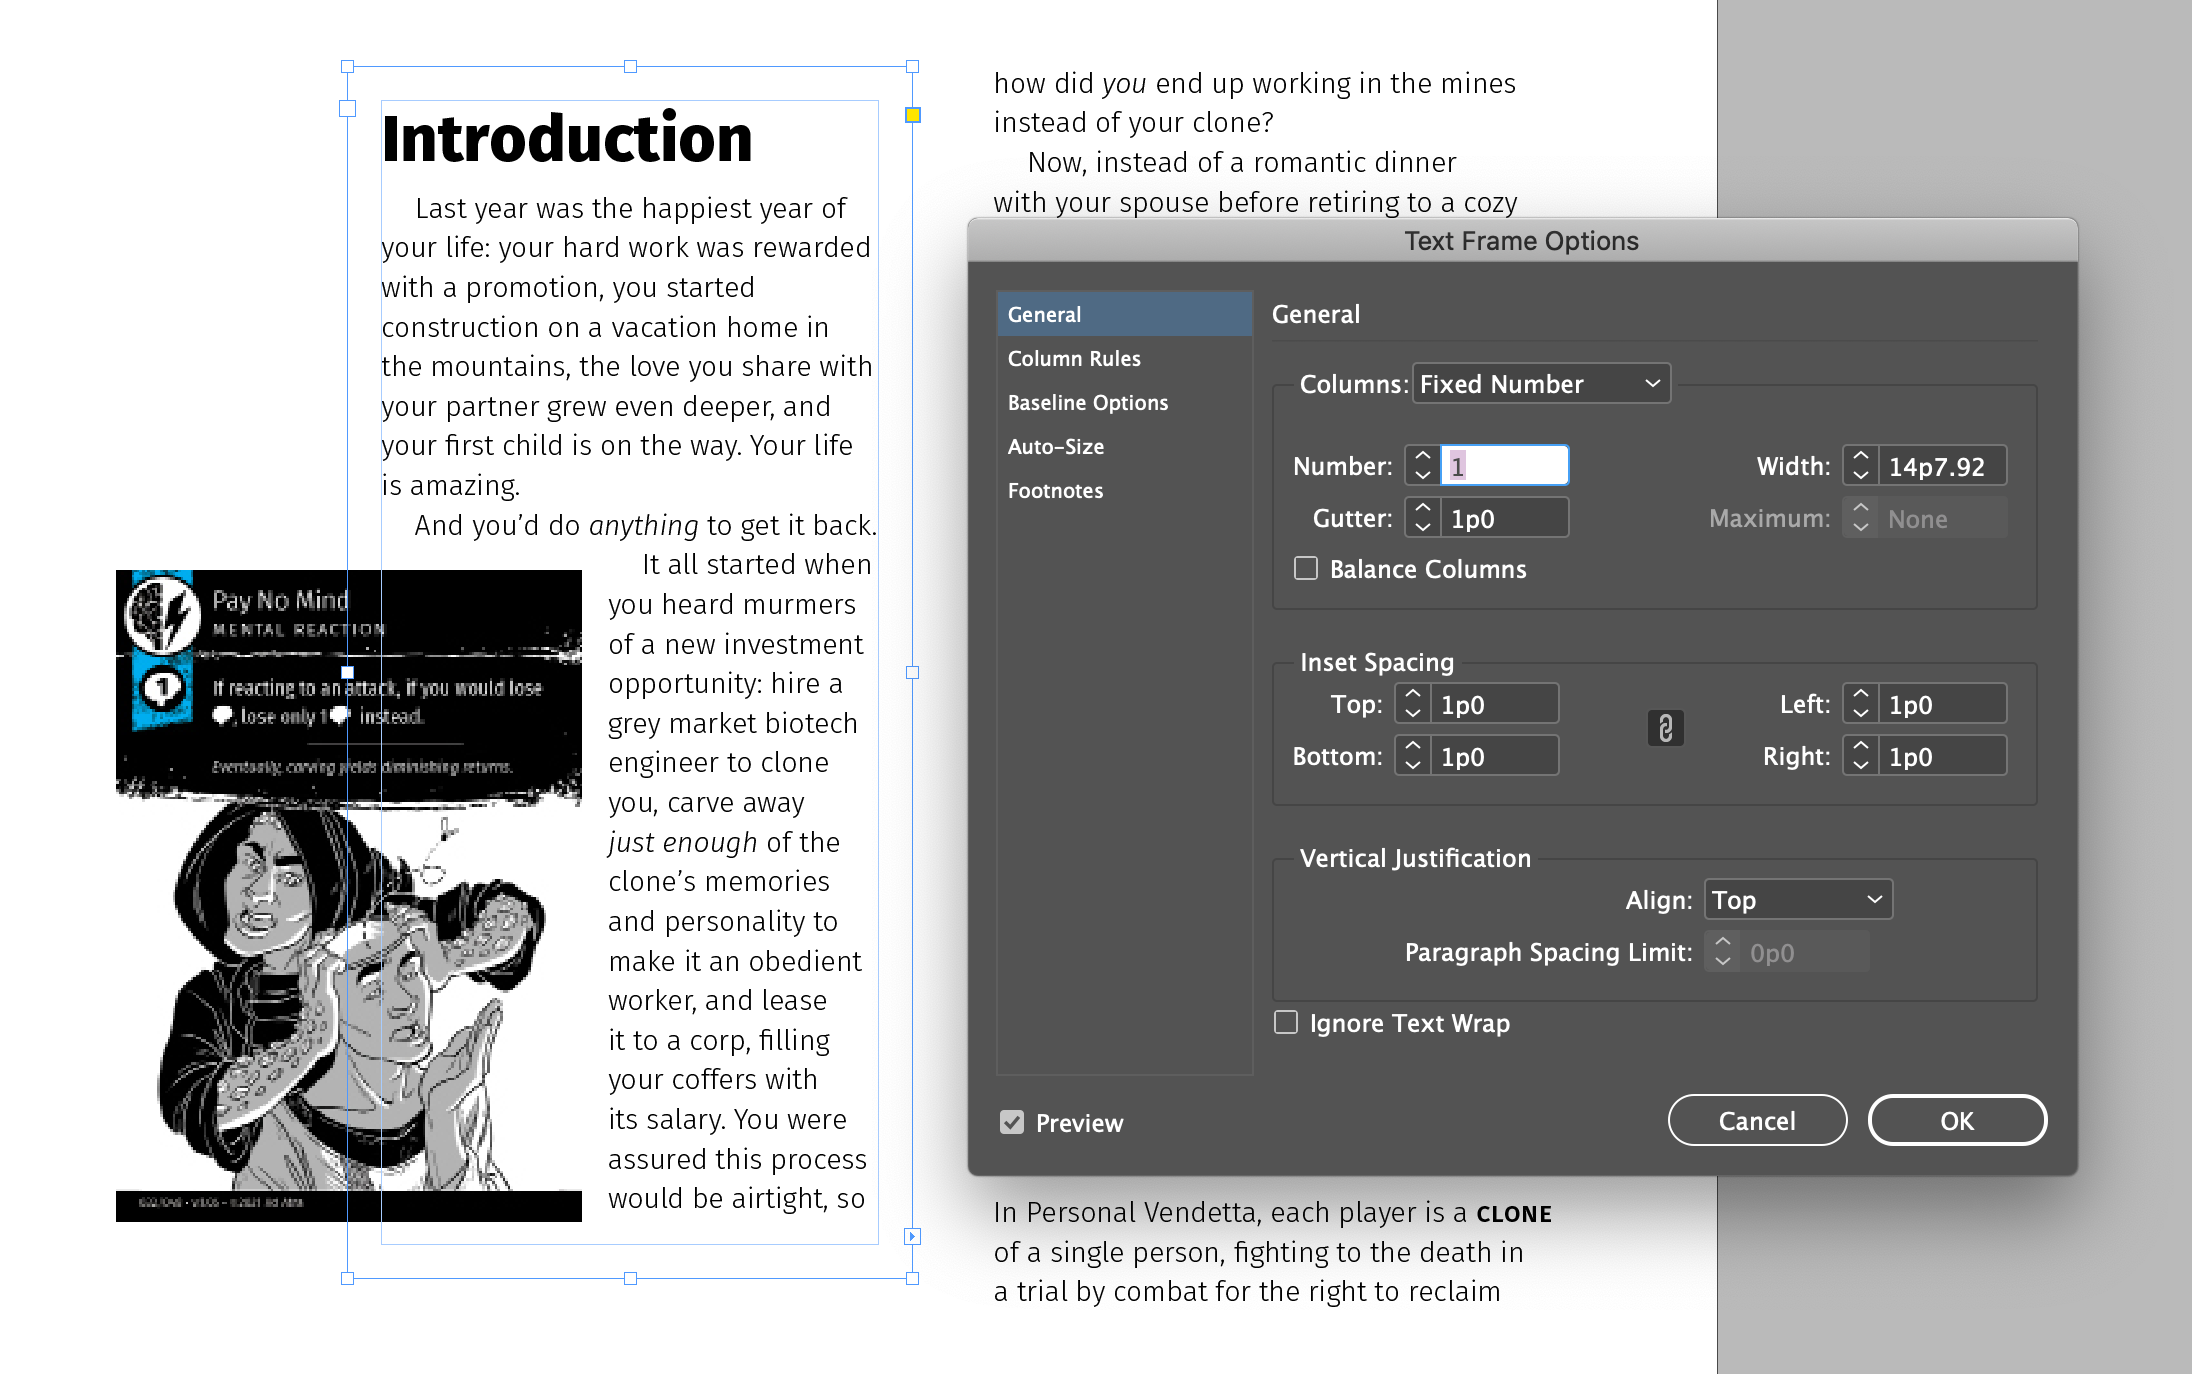
In the above example, adding 1p0 of inset spacing adds a border of white space to the inside of the text frame, leaving its original boundary untouched. What does this have to do with anchored objects, though? To explain my thesis, we need a better layout.

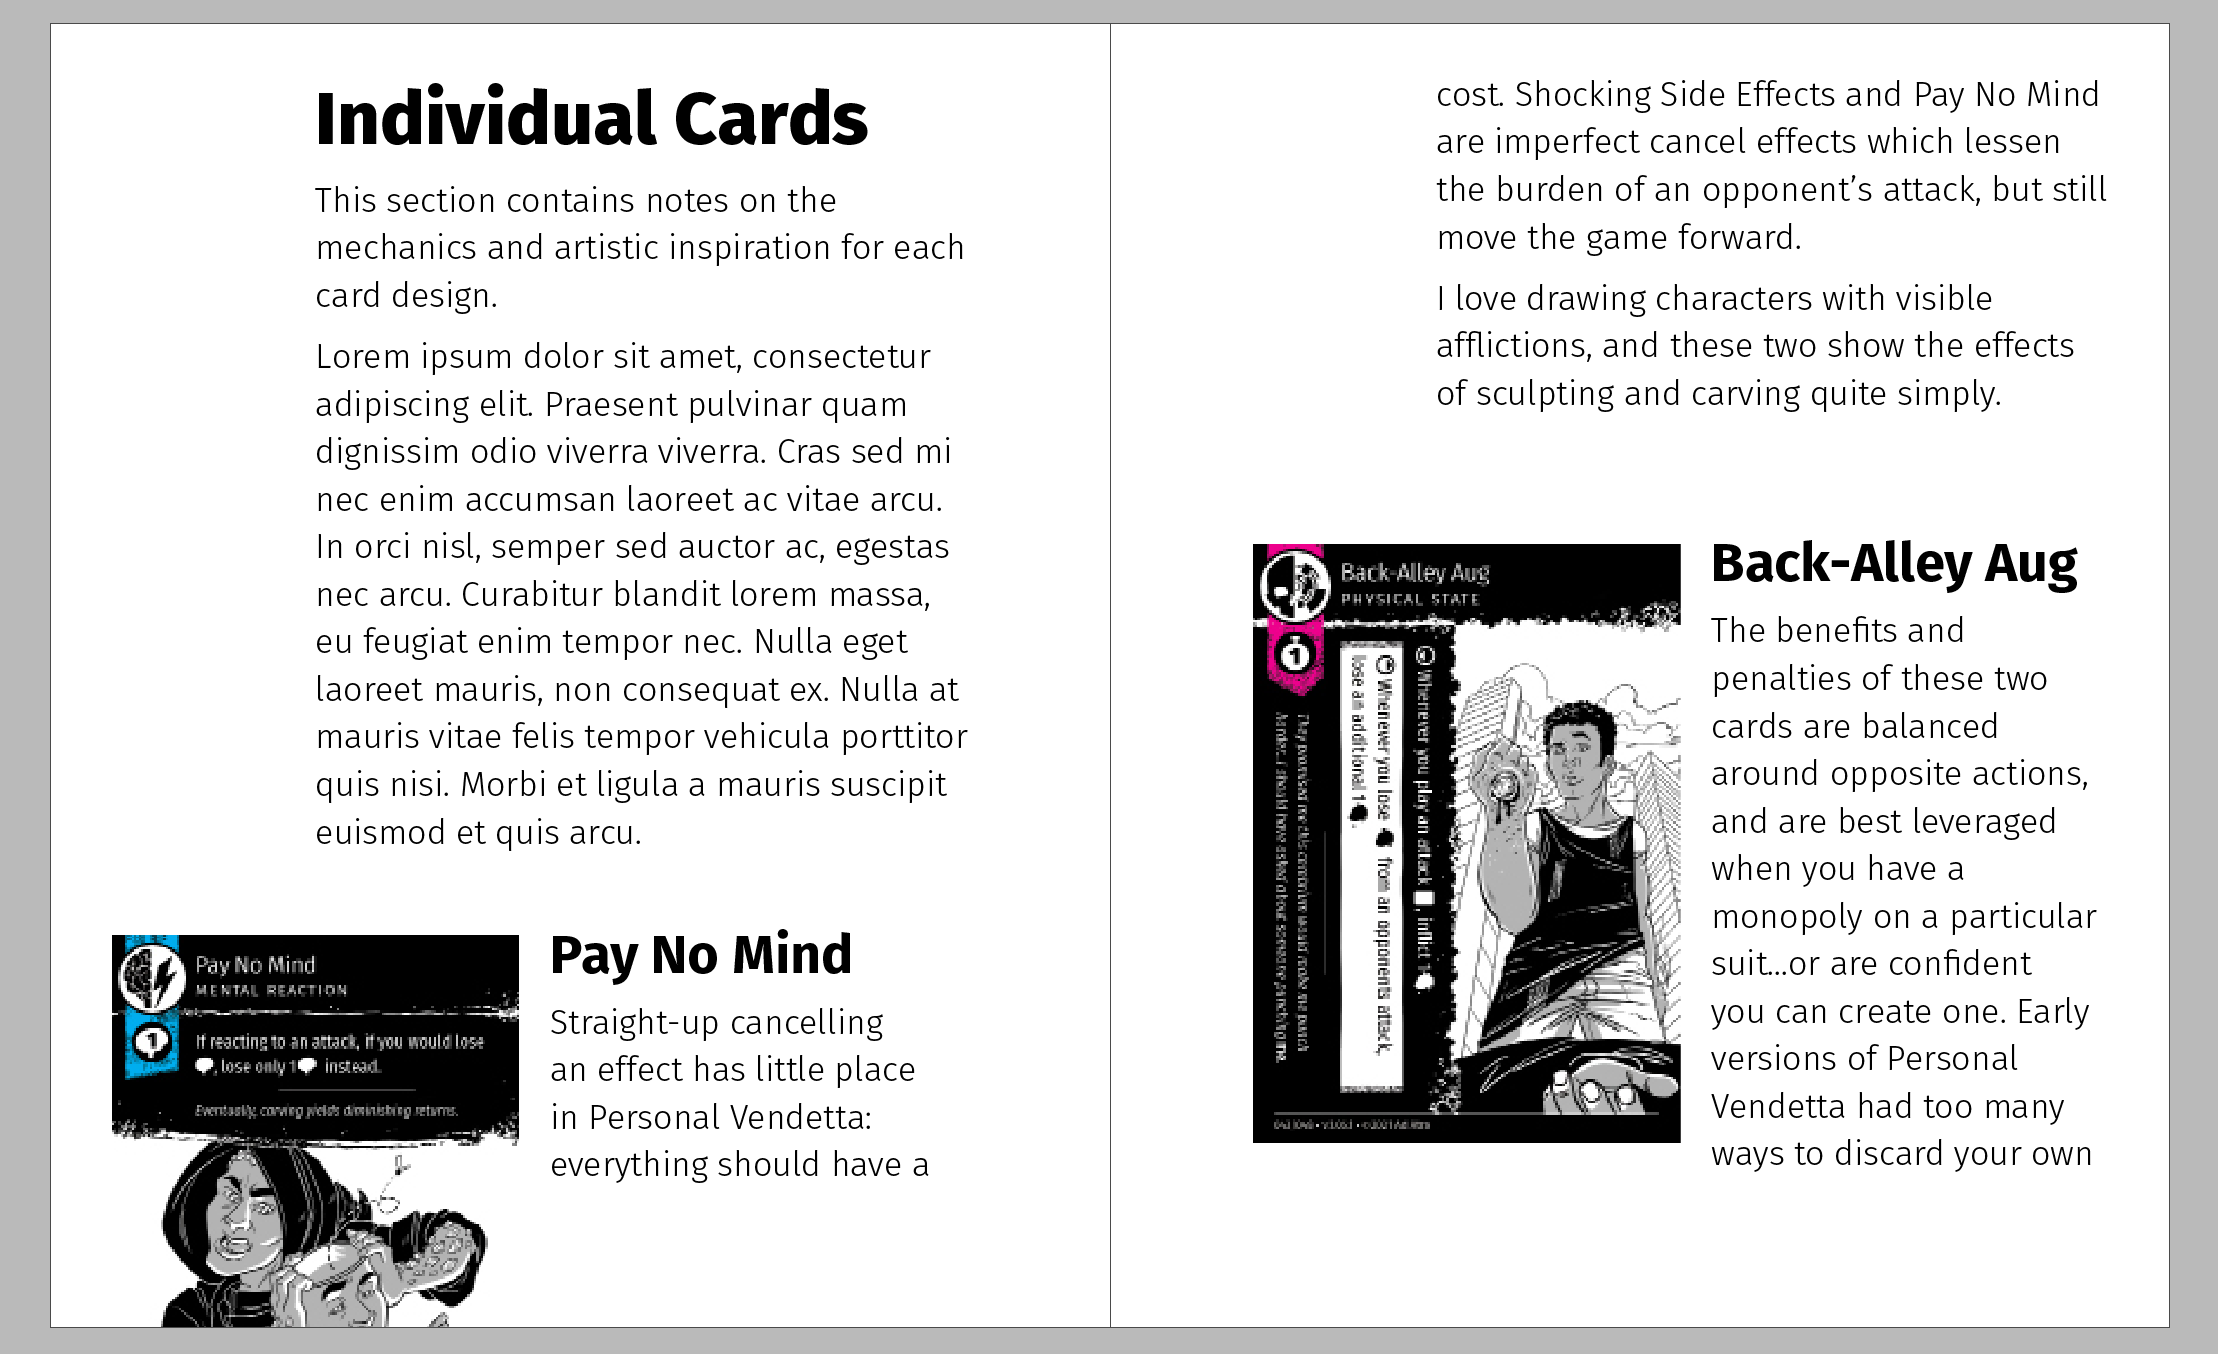
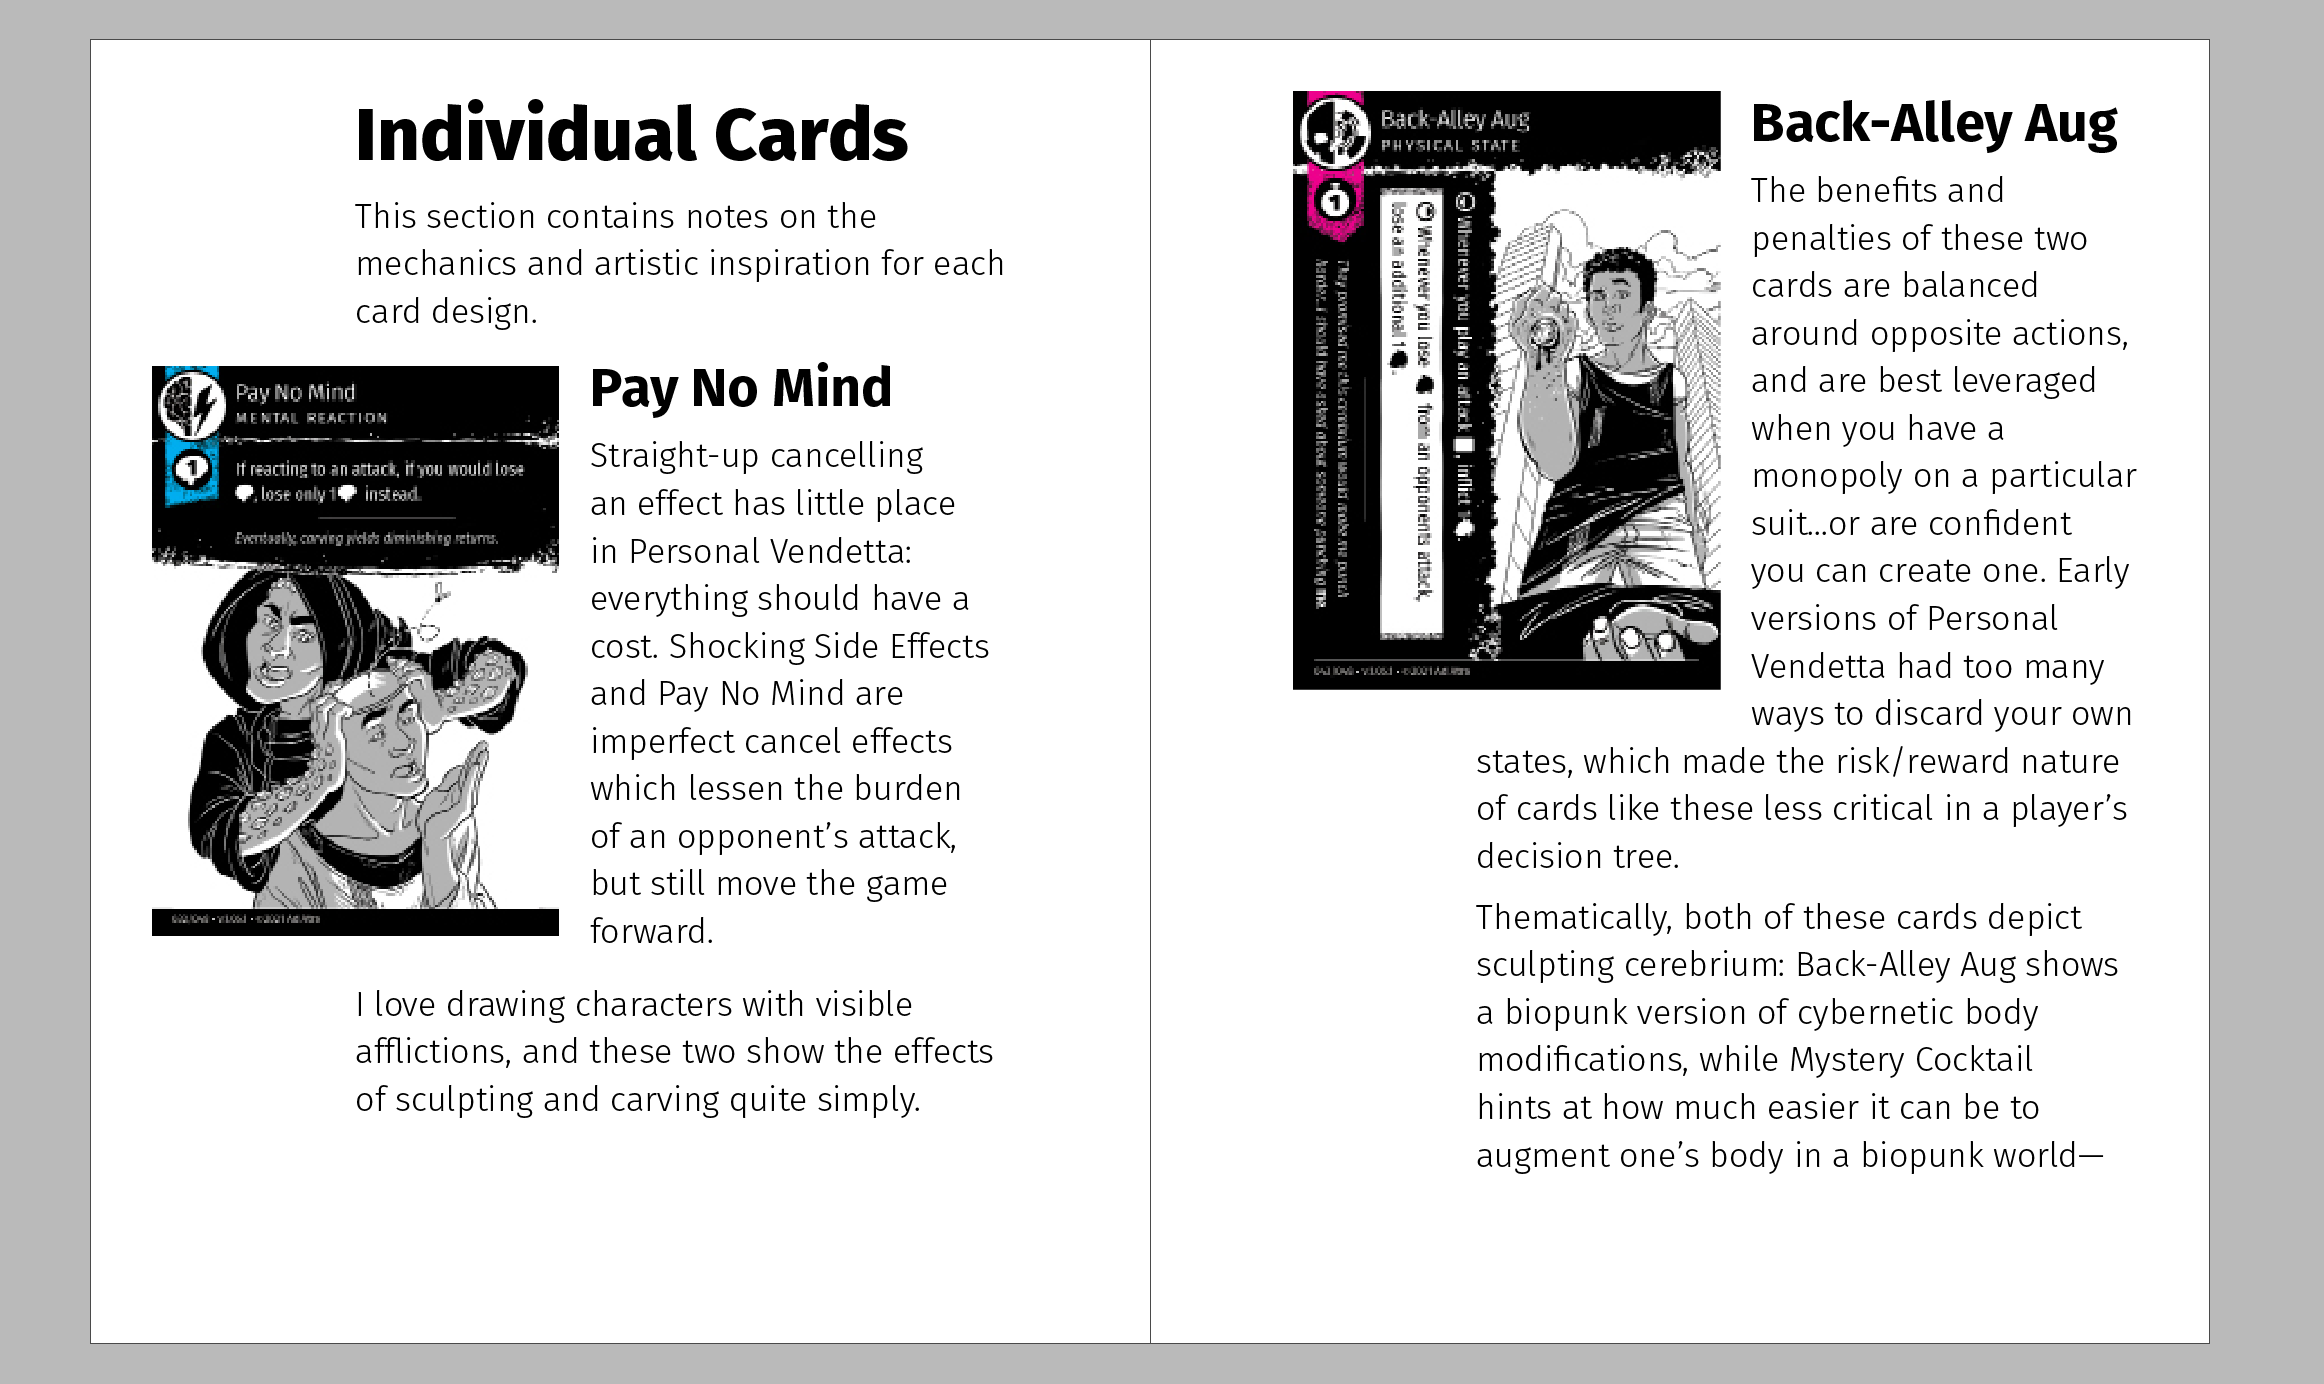
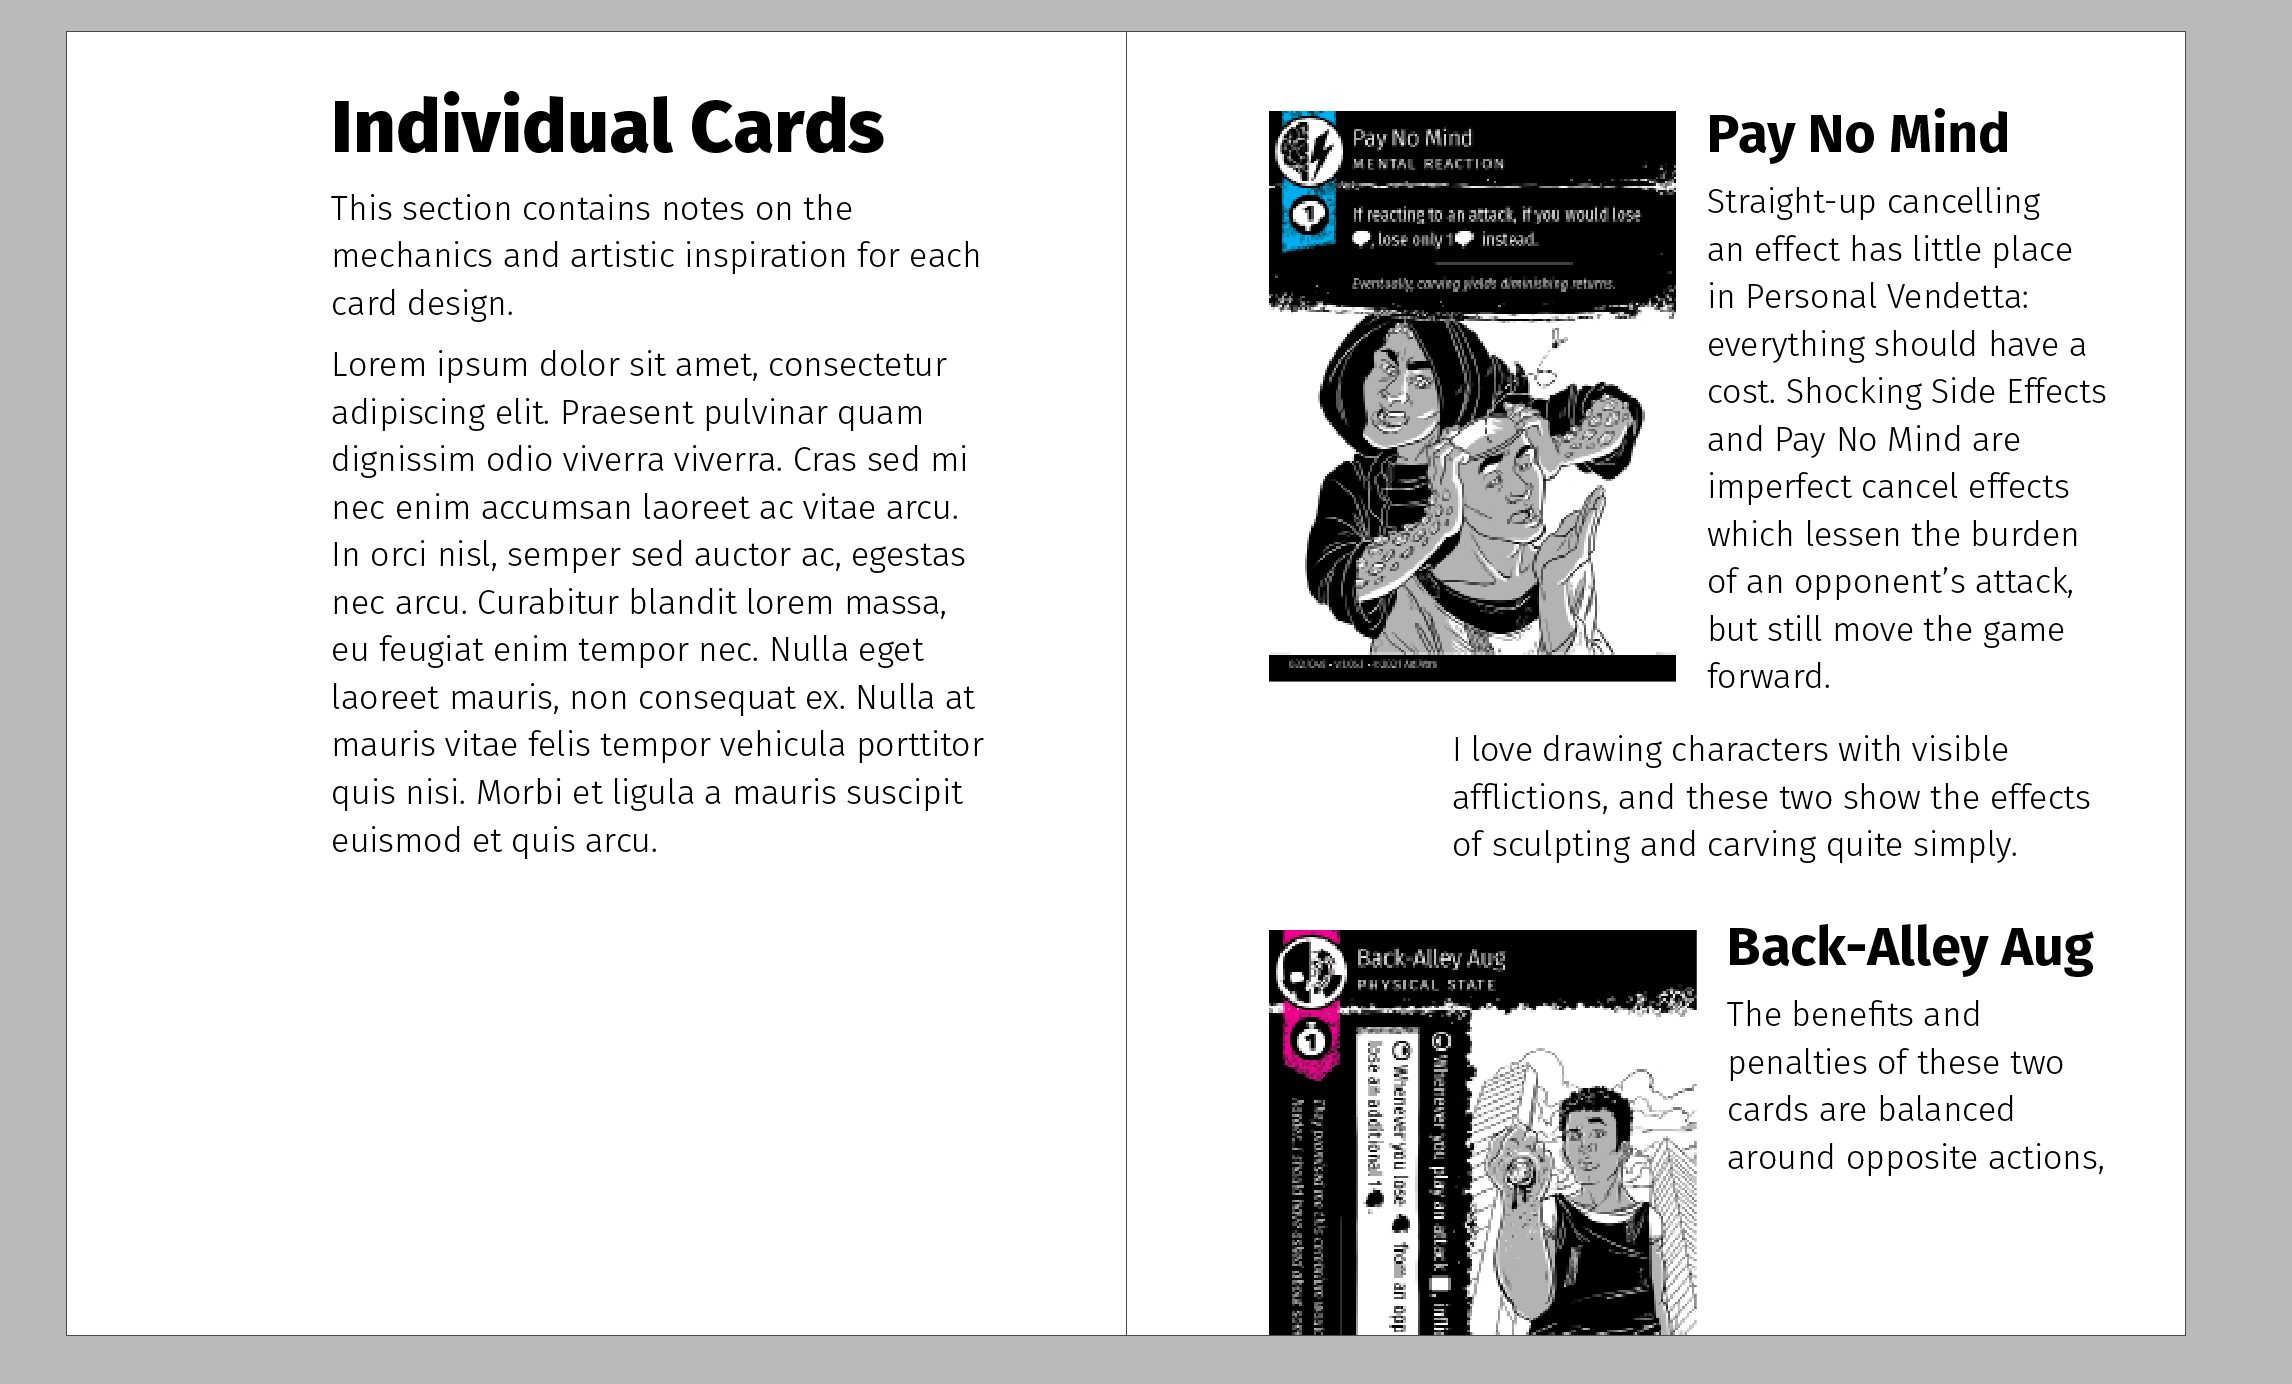
Let’s say I want to create a small booklet which contains my design notes for each individual card. This would be a great application for the layout from the previous section.
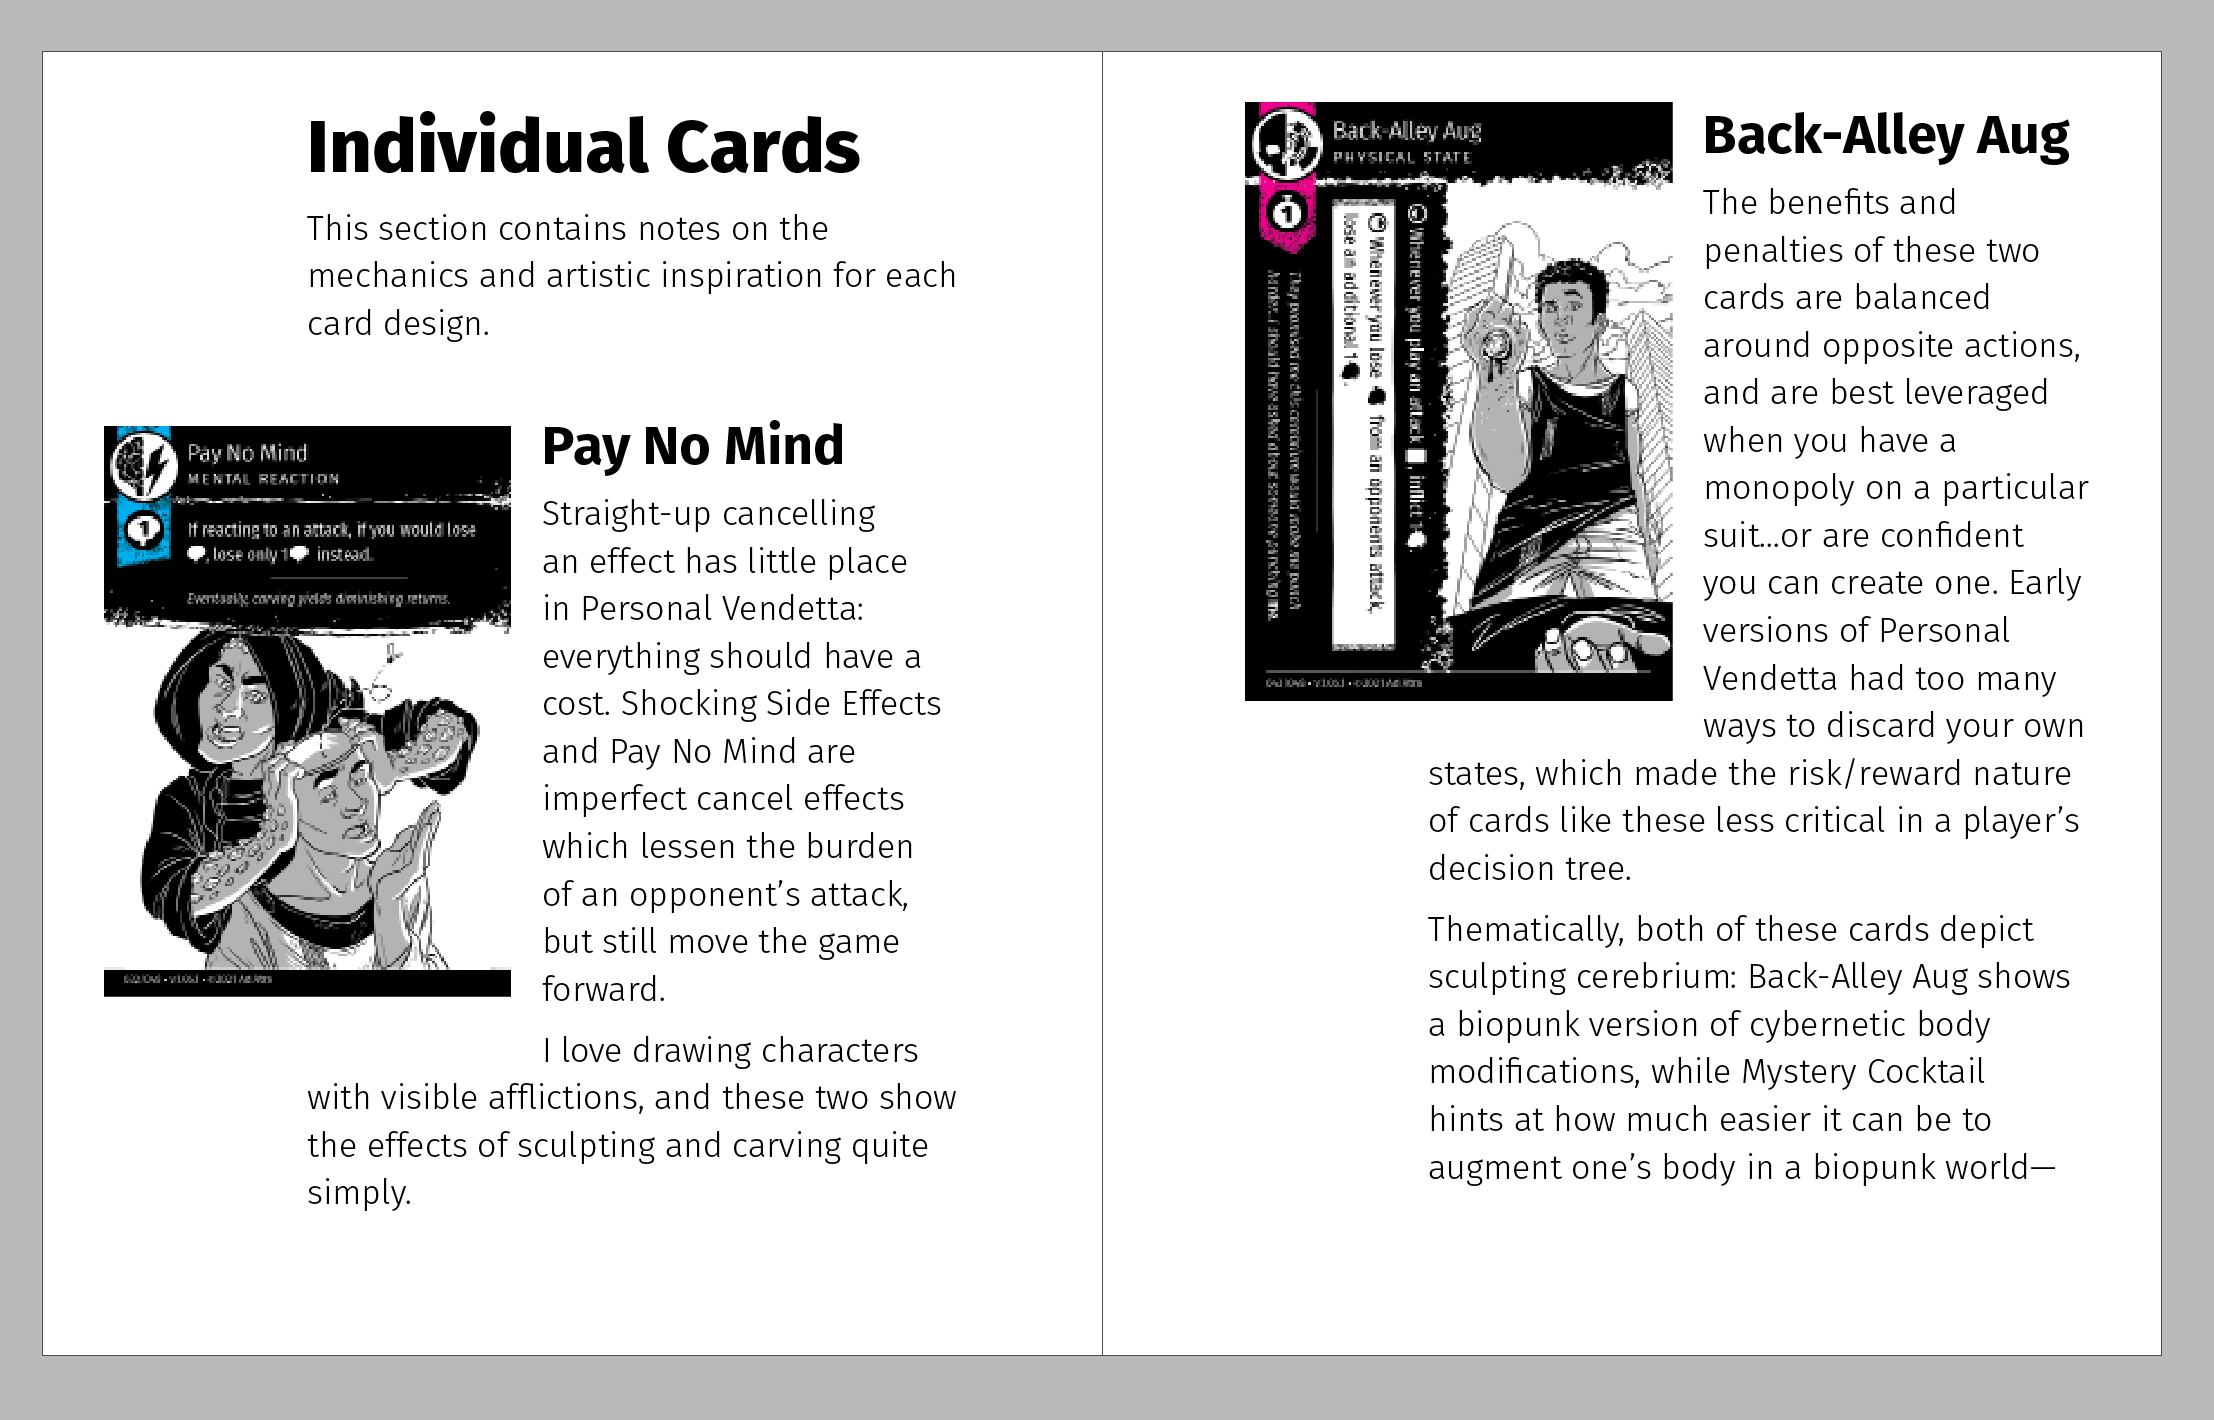
Looks pretty cool! This layout calls attention to the images, as they protrude from the main text frame. To review, when these images are not anchored, any change to the copy requires manual repositioning.

Anchoring the images allows the images to move with the text…
...until the text moves the image off the page.
We are going to create a new text frame for each image and the portion of text which relates to it.
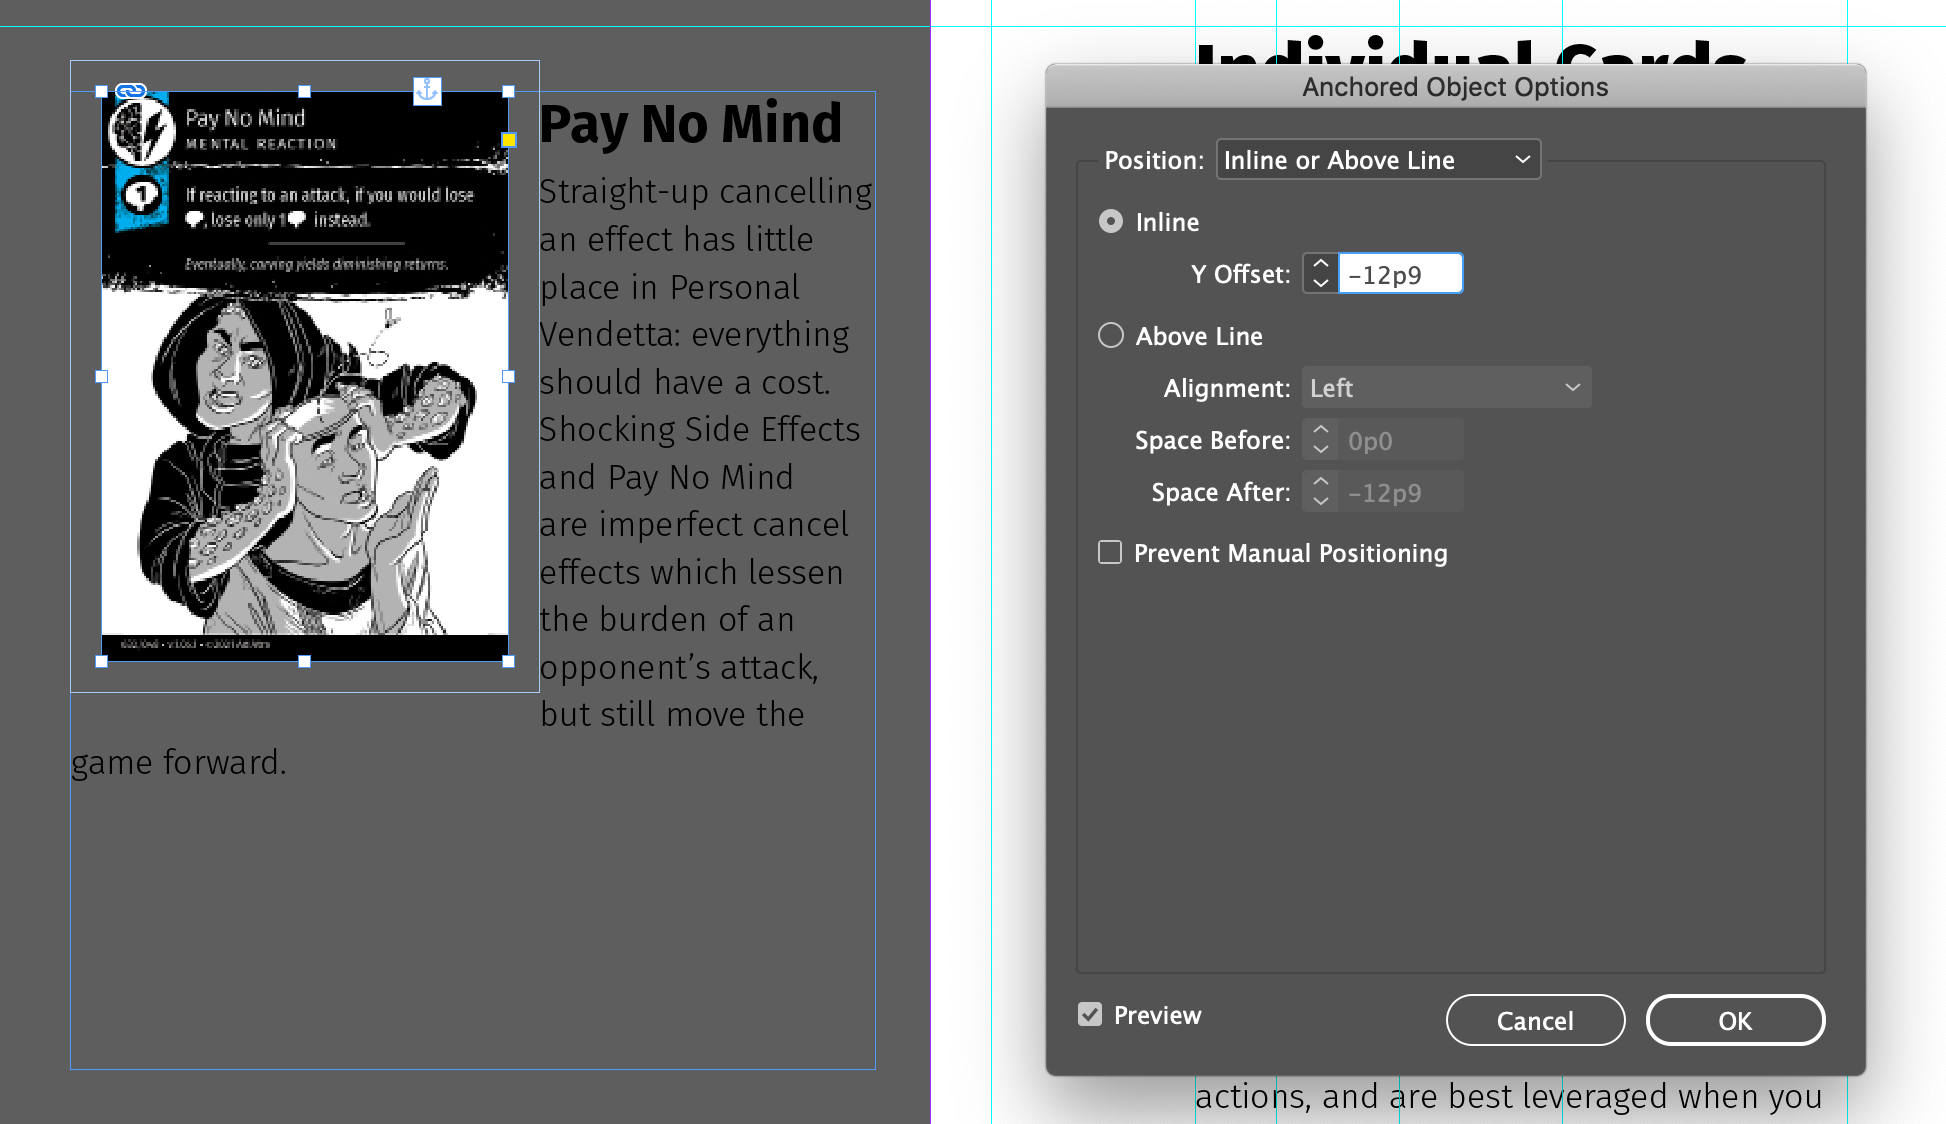
Here I have copied the text that describes this specific card and pasted it into a new frame alongside an image of the card. The next step is to right click on the image and choose Anchored Object > Options. Choose “Inline” and set the Y Offset equal to the negative height of the image (in this case, the image is 12p9 tall).
Set the width of this new frame to the width of the margins of the page.

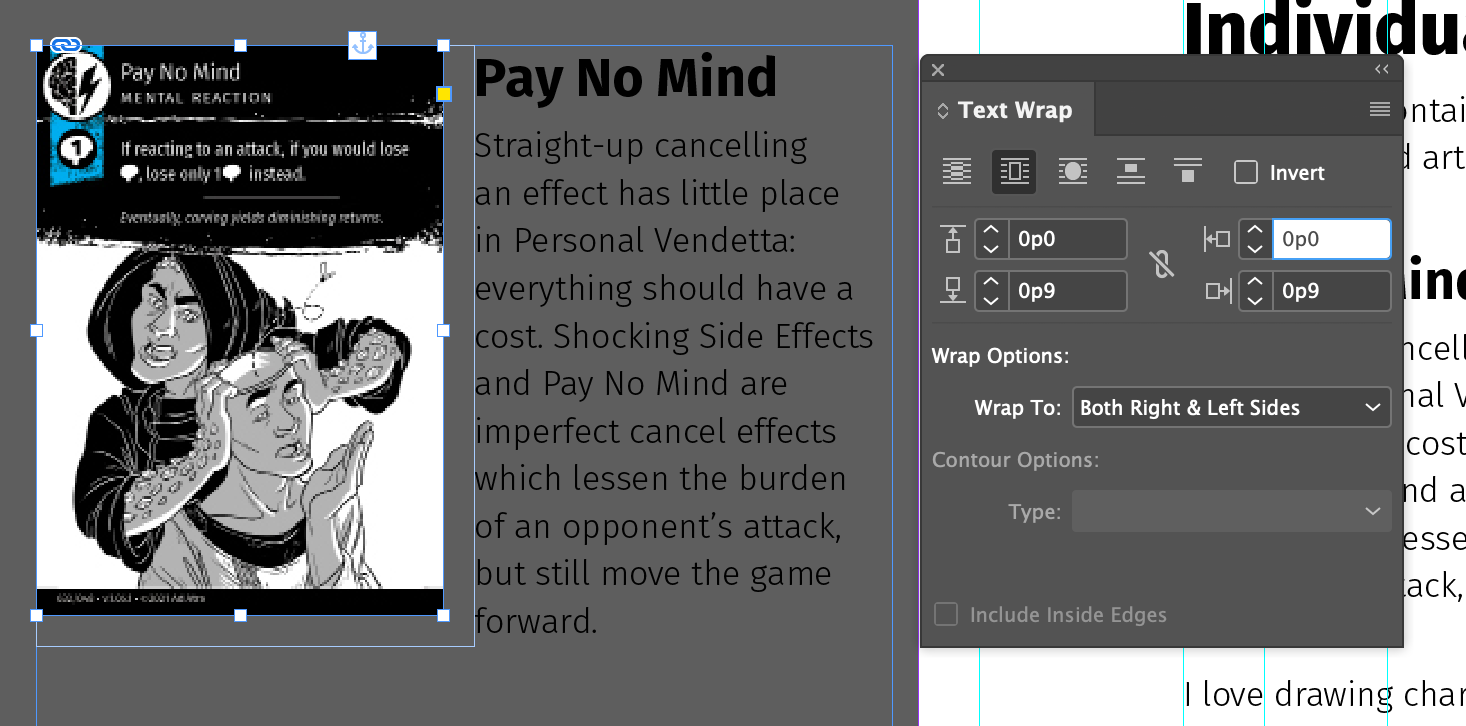
Select the image and open the Text Wrap panel. Set the top and left margins to 0p0.
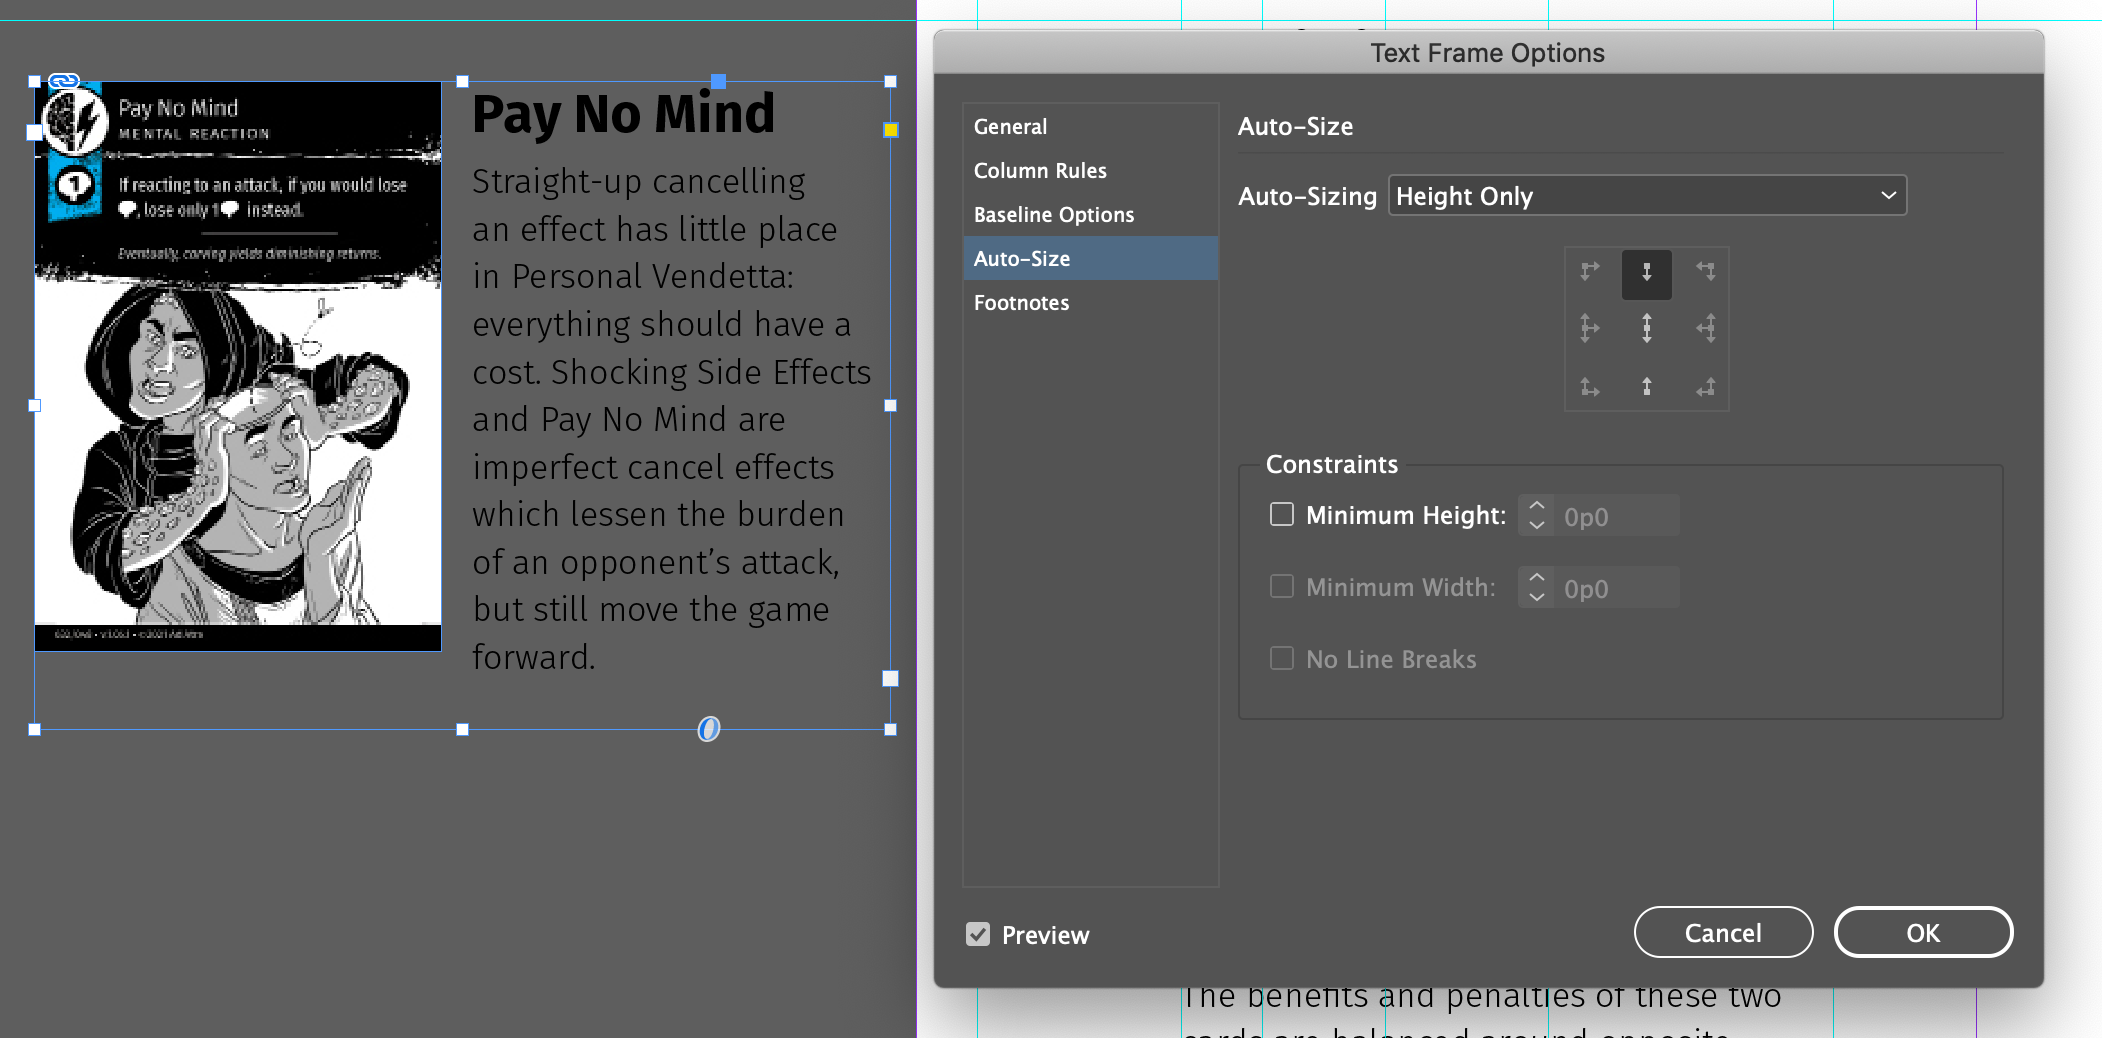
Select the text frame again, and press ⌘+b to open Text Frame Options. Choose Auto-Size > Auto-Sizing: Height Only, and select the top node. This option automatically resizes the frame boundary based on its content.
Now, cut and paste this frame into the main text frame!

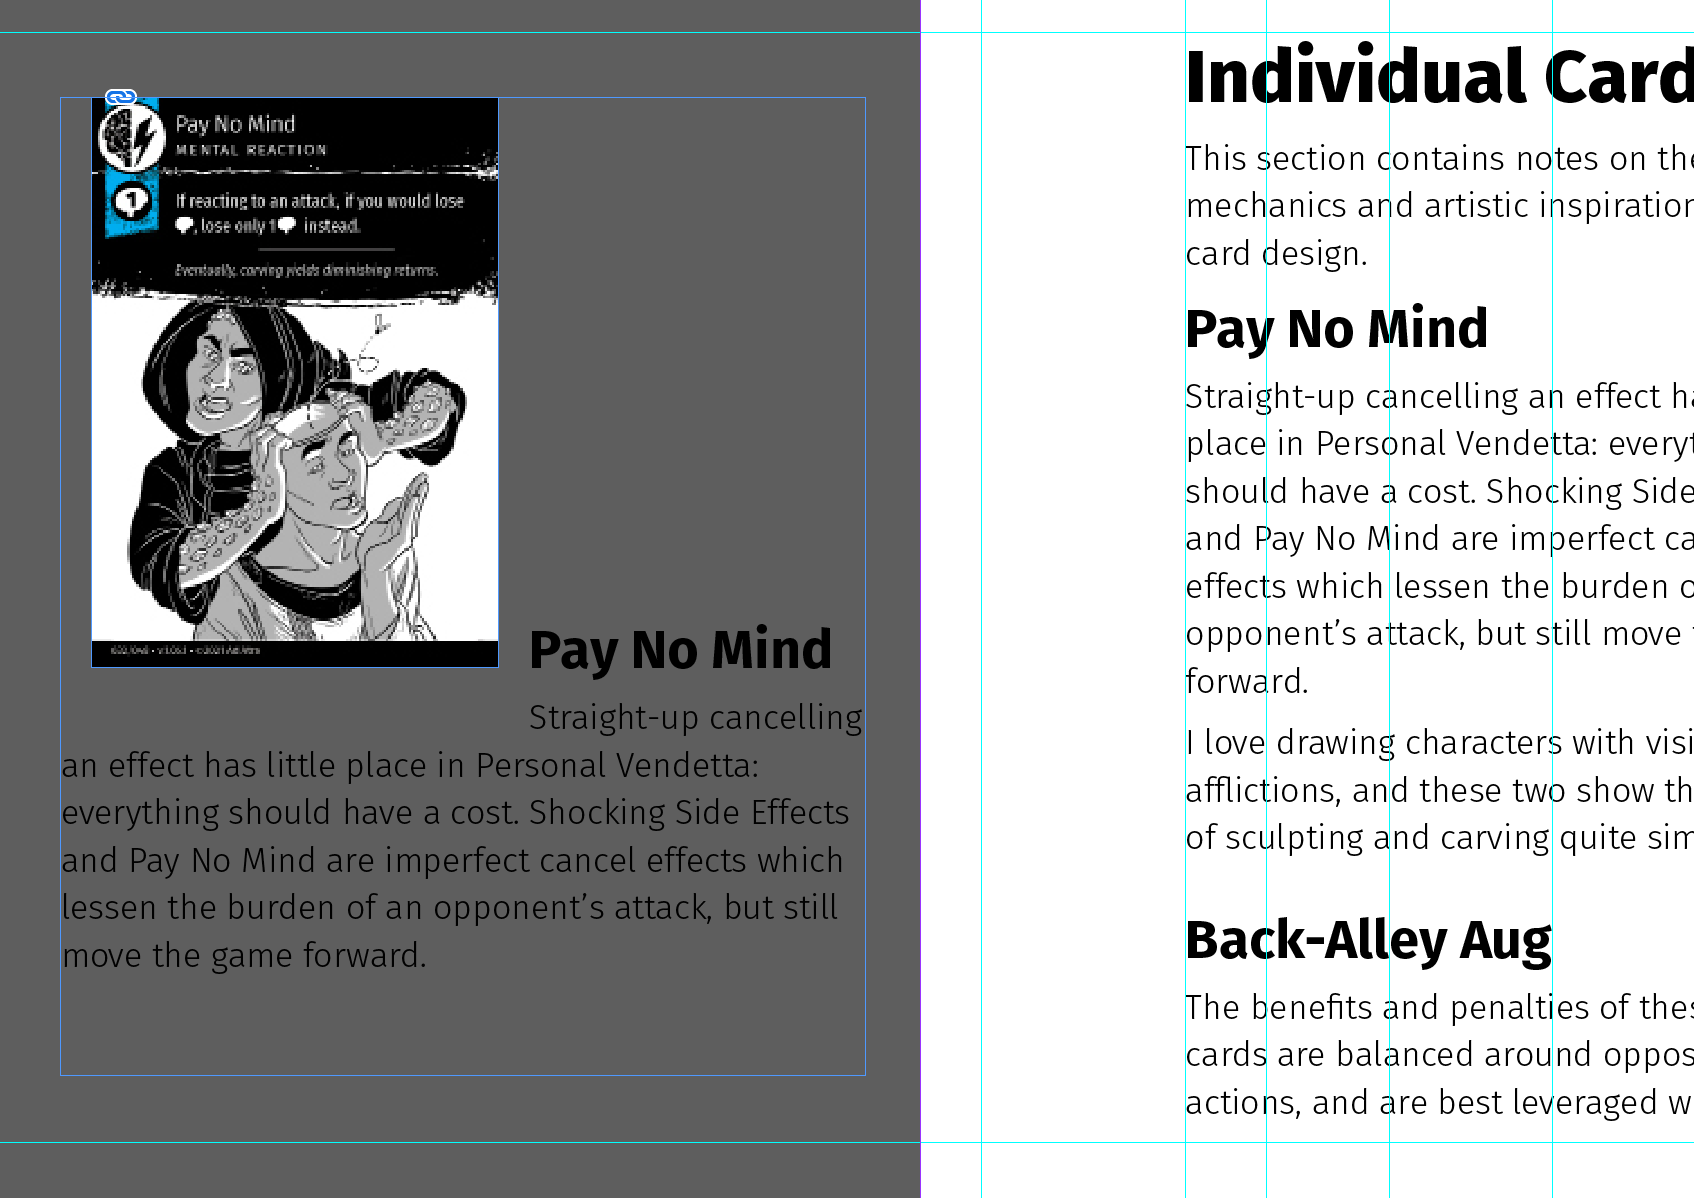
This looks totally wrong, but we are going to apply more settings to correct this behavior. Right click on the pasted text frame and choose Anchored Object > Options. The option selected by default is “Inline.”

When an anchored object is positioned “inline,” it takes up the same vertical real estate as the anchor character we see in the story editor.
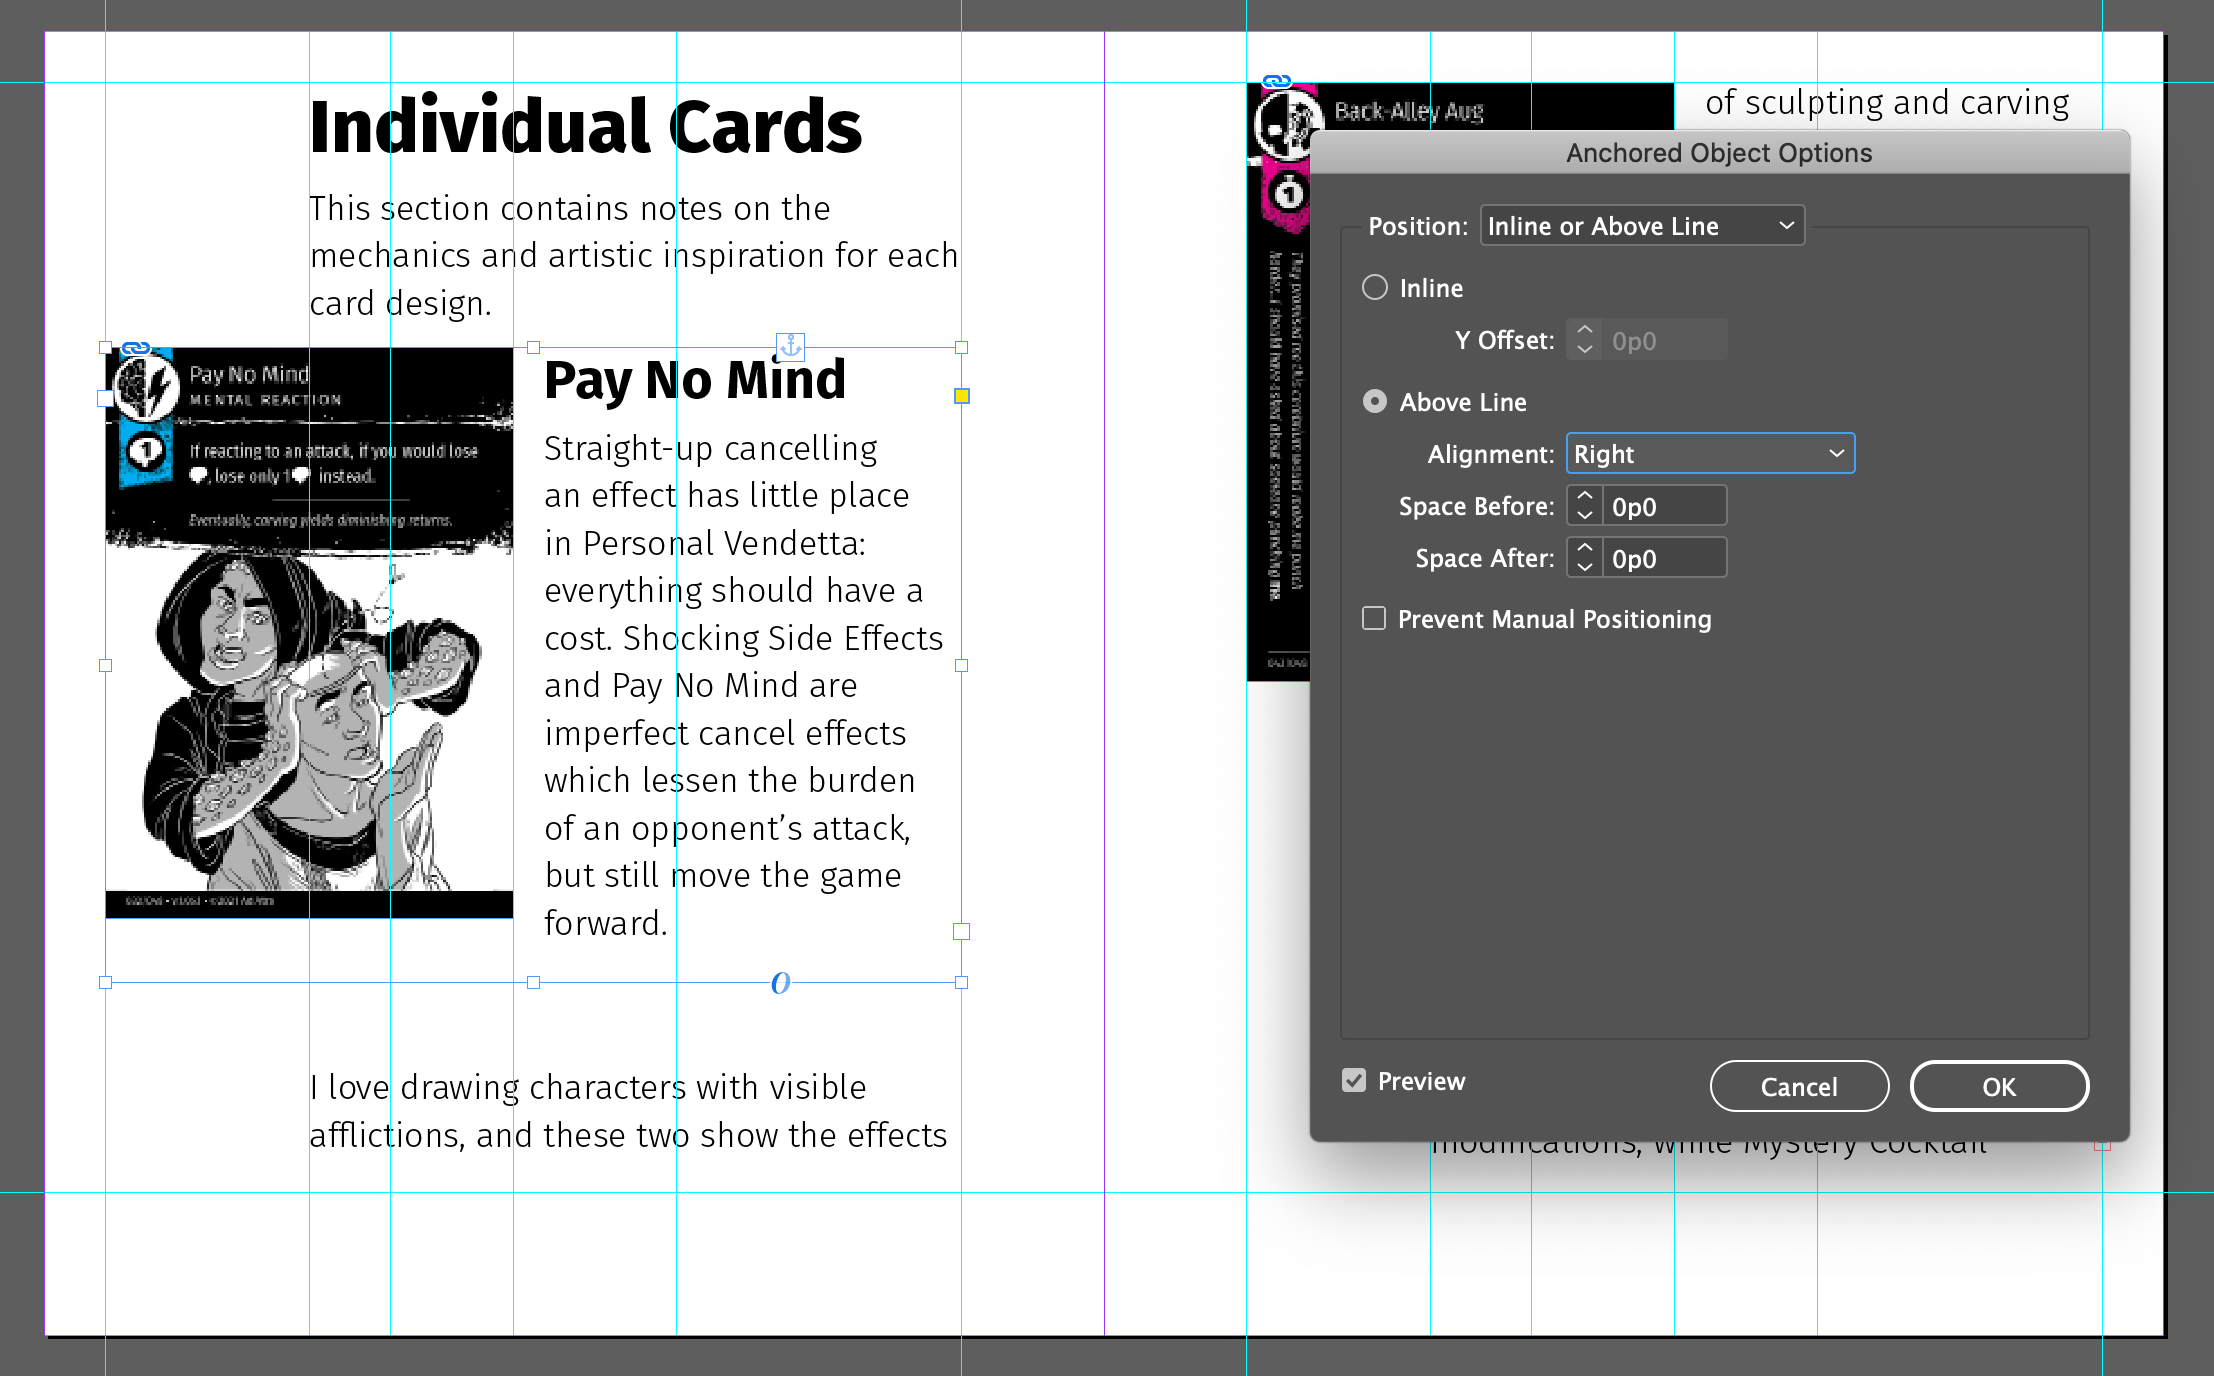
Instead, select “Above Line” from the options panel.

This looks like progress! However, the alignment and spacing is still weird. Choose “Right” under the Alignment dropdown menu.
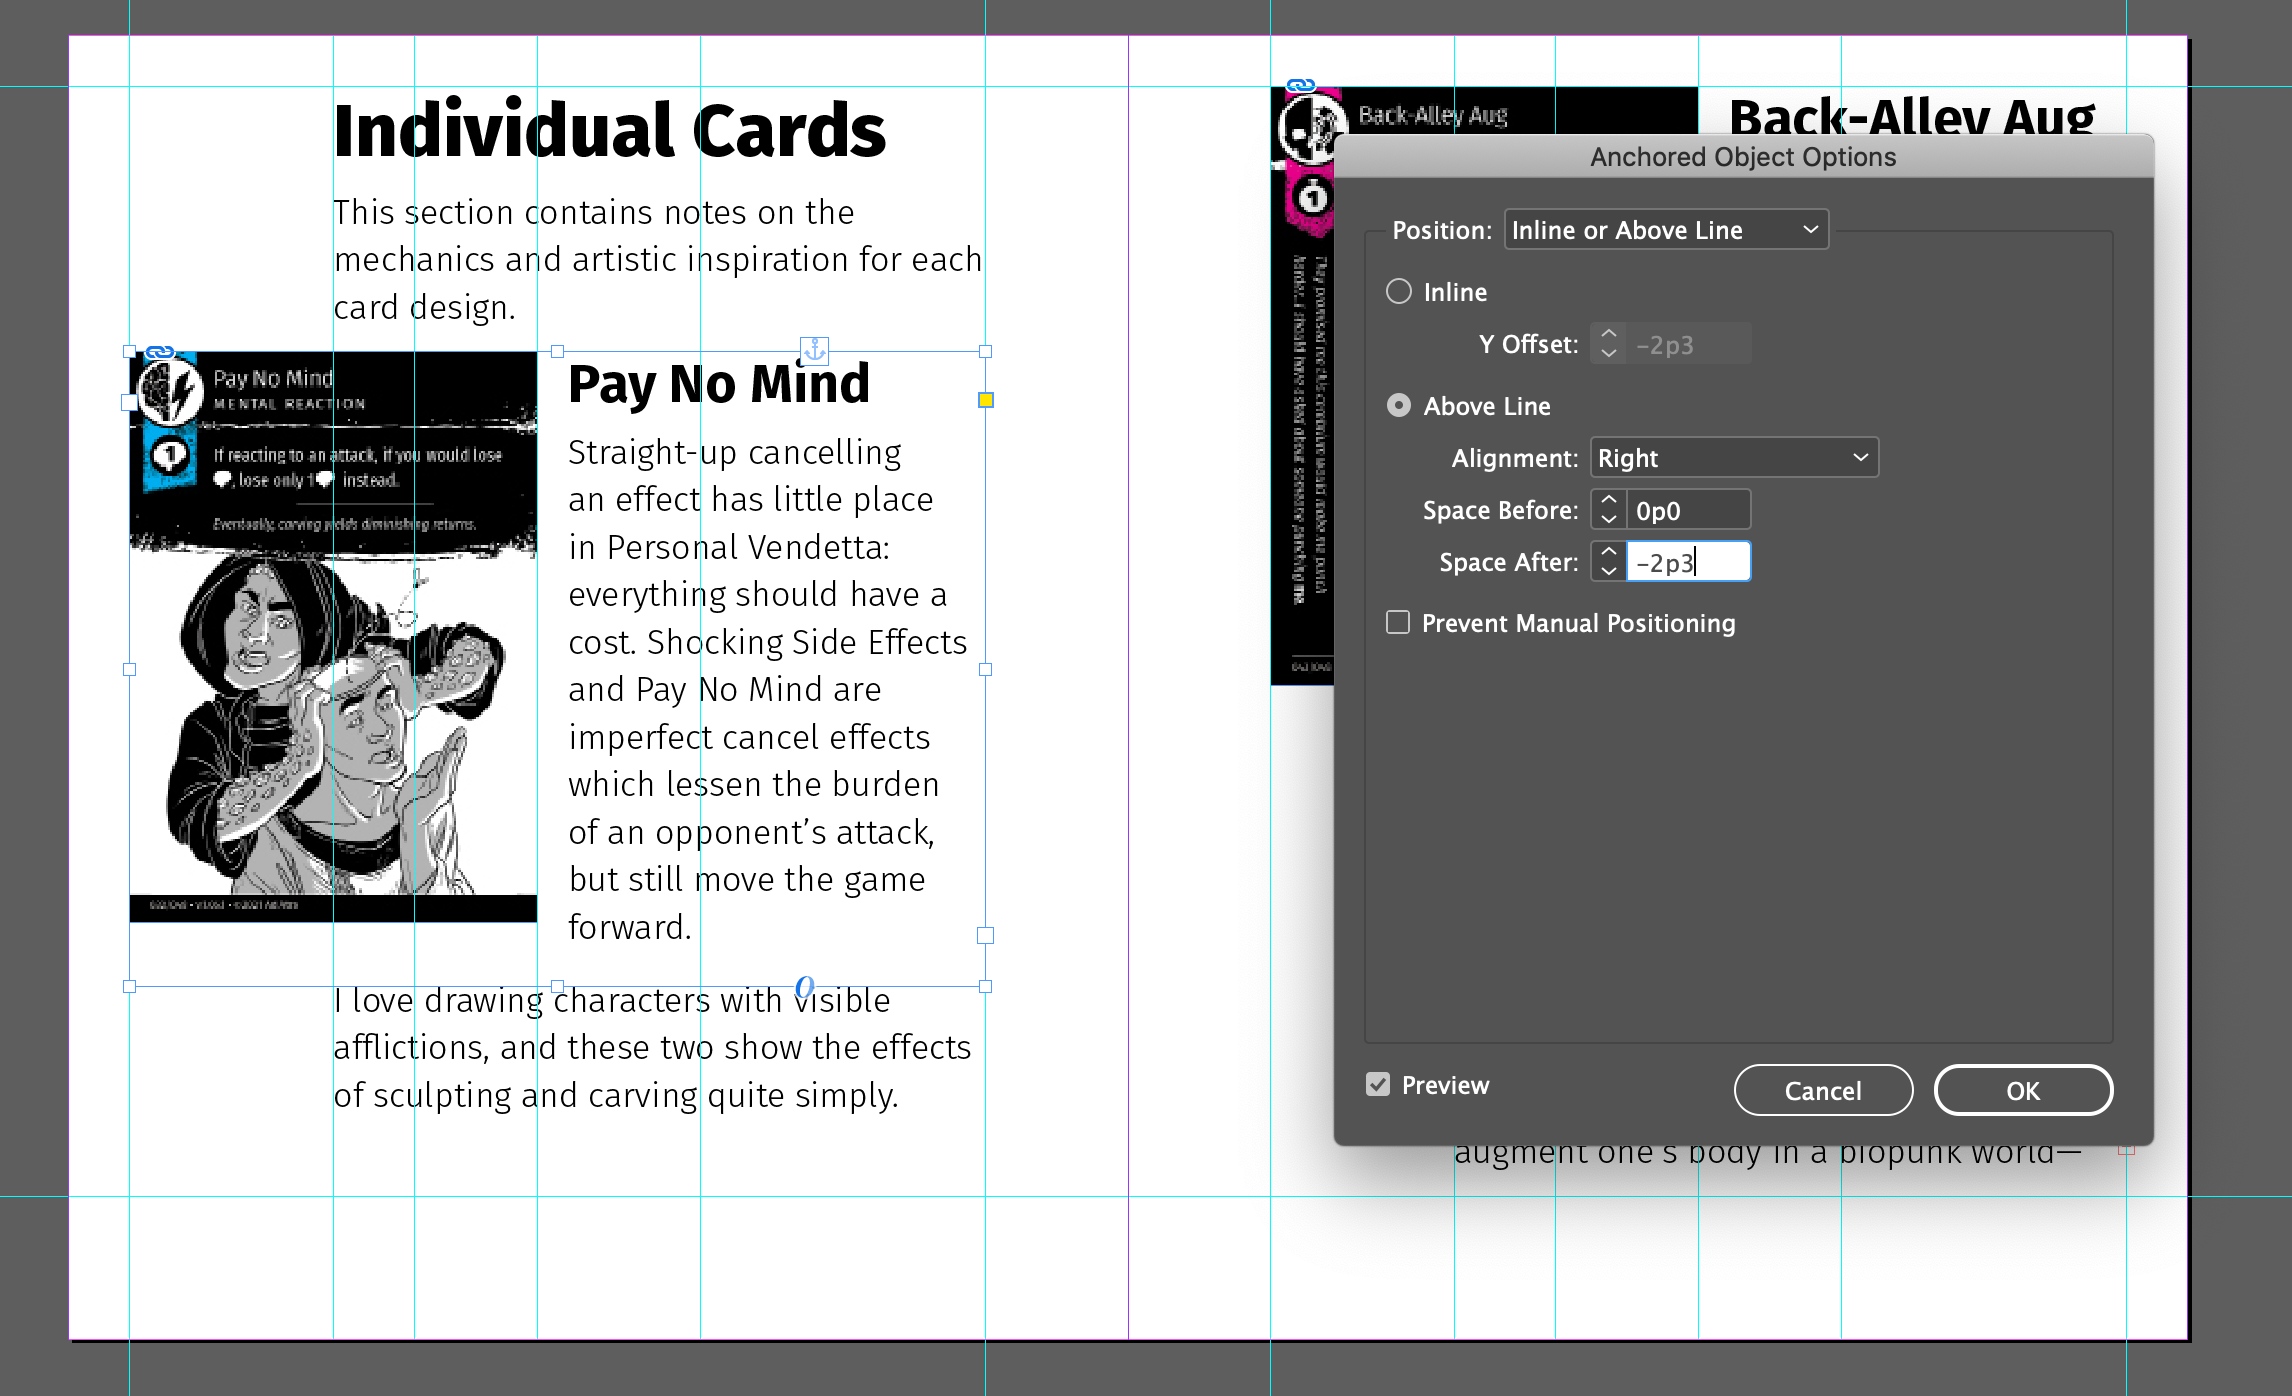
Because we set the width of this frame to our desired final width, this alignment option works perfectly. However, there is still a weird space below the frame. Use the Space After option to correct this.
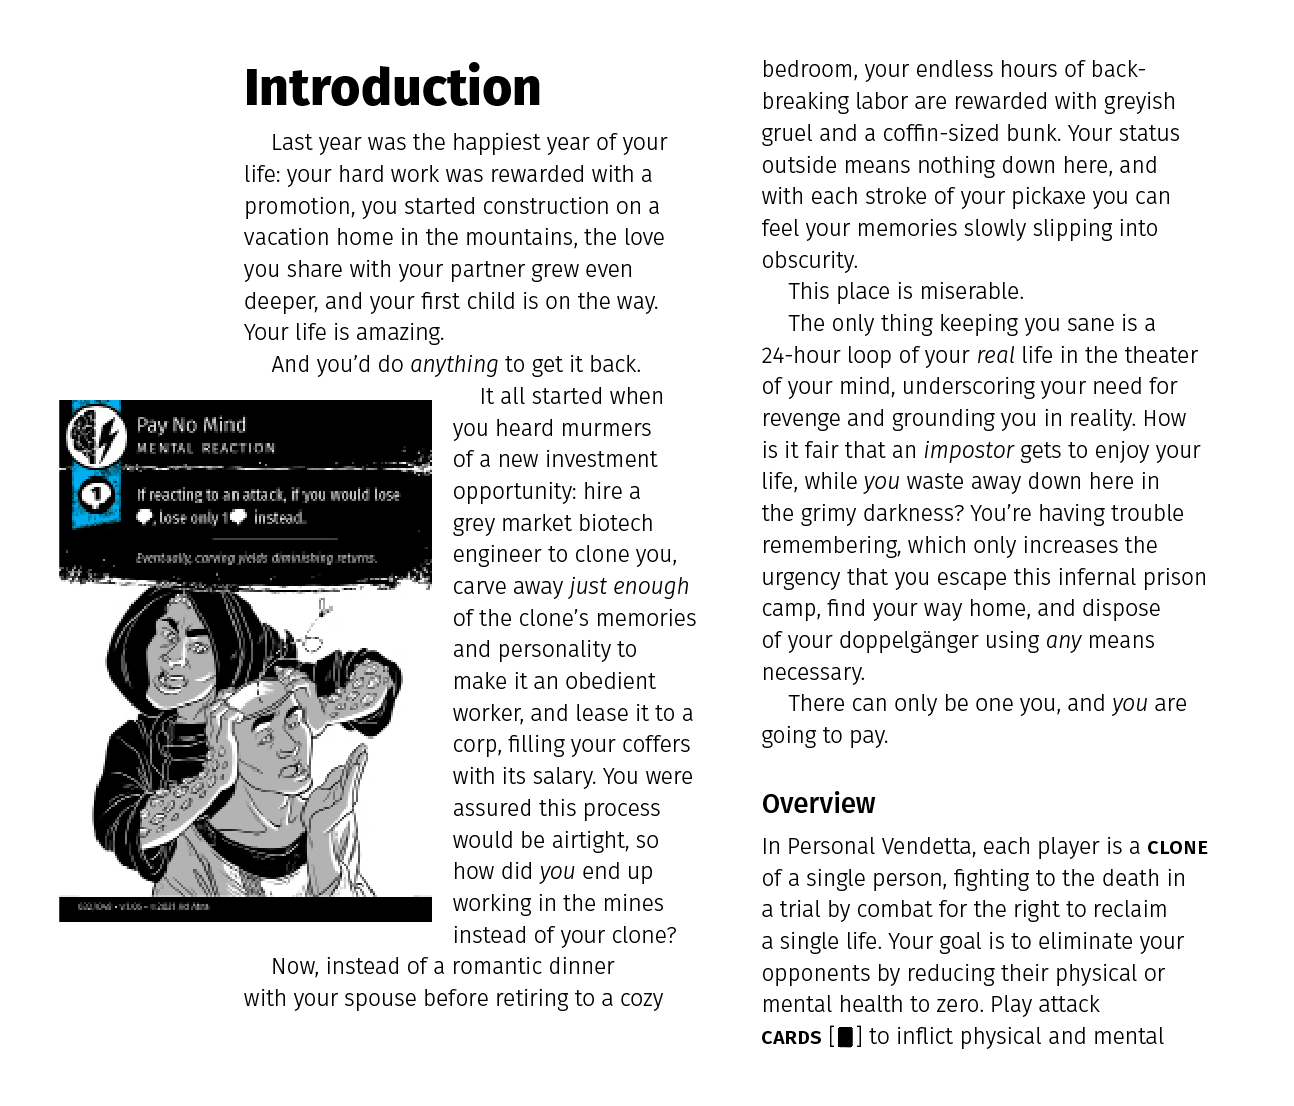
The final product looks identical to the original design!
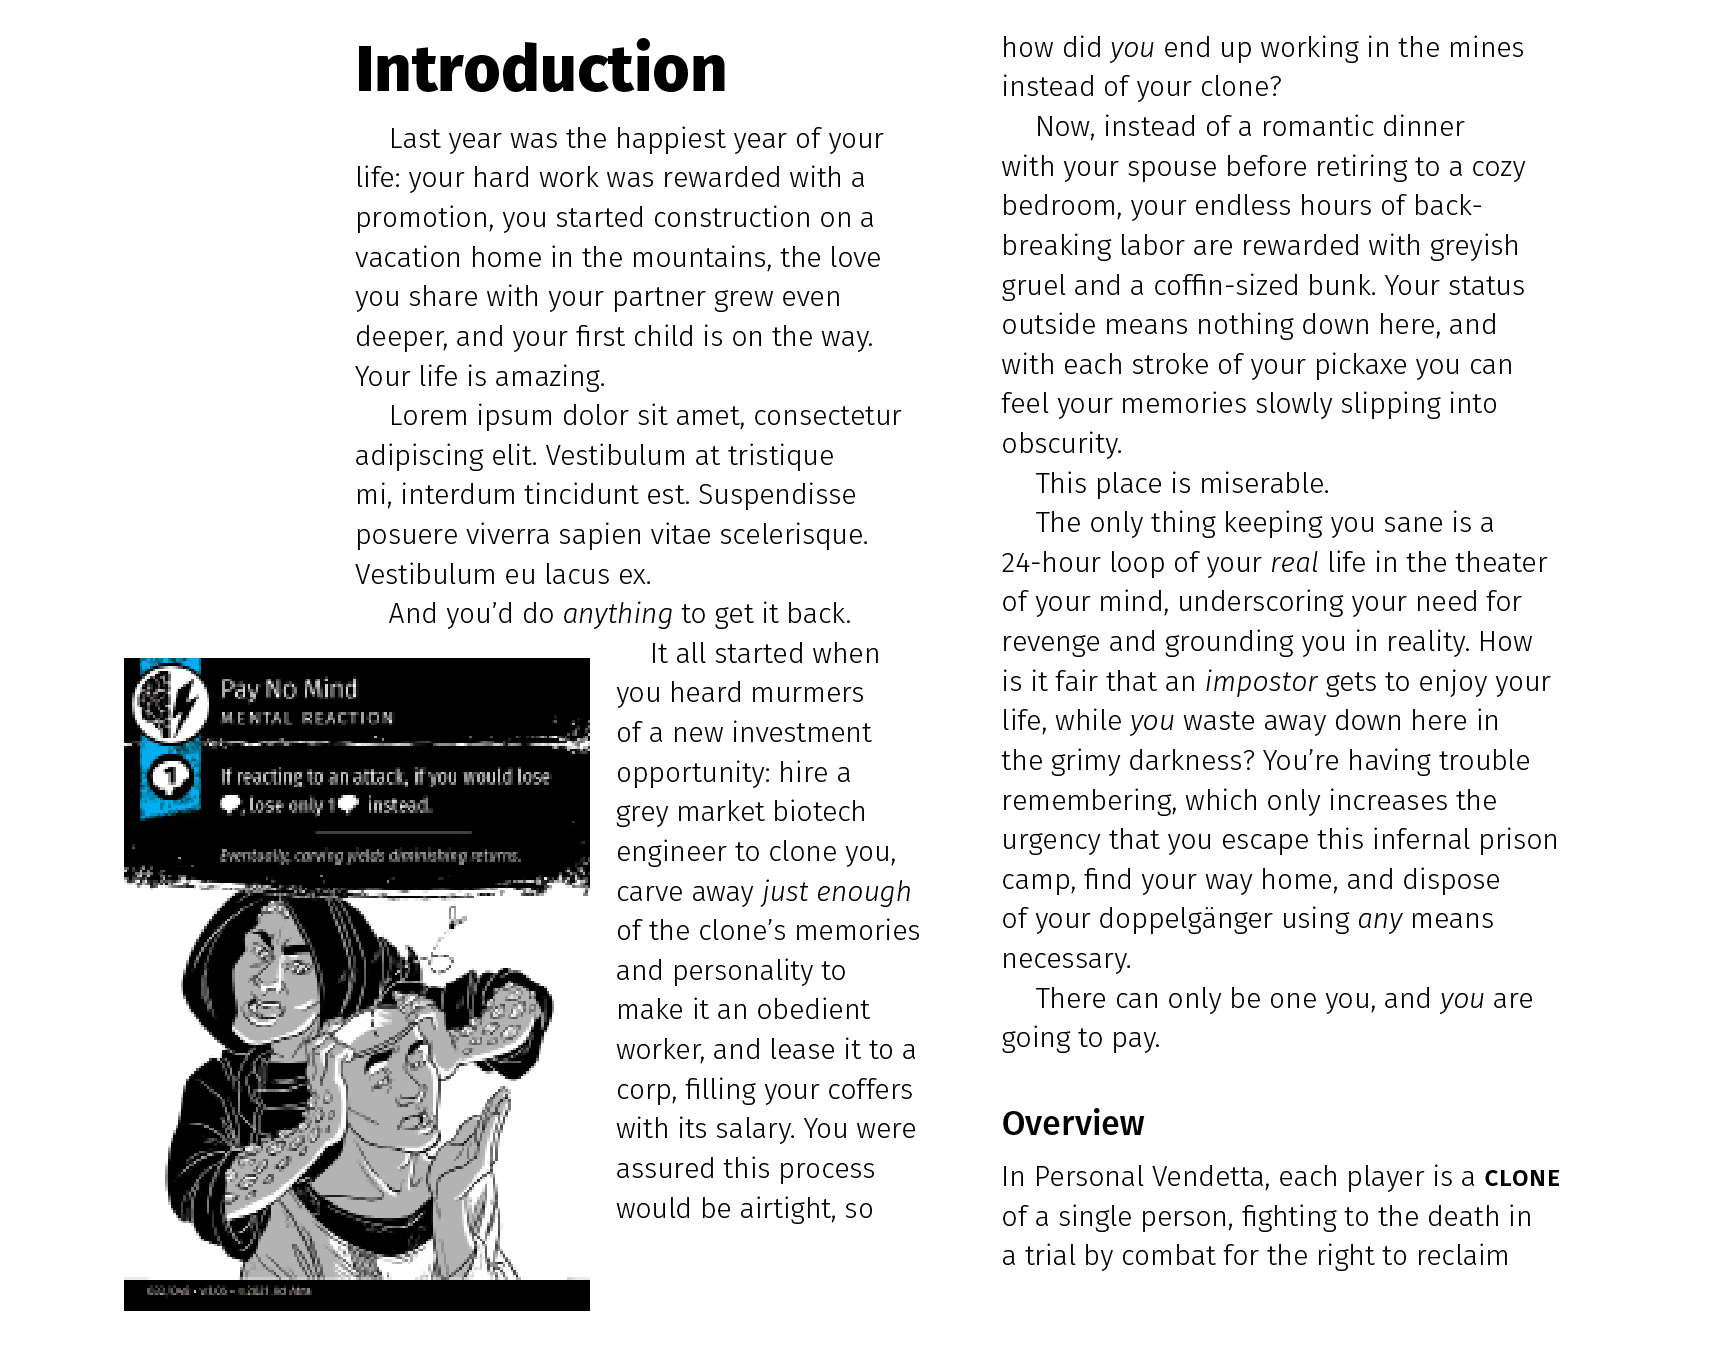
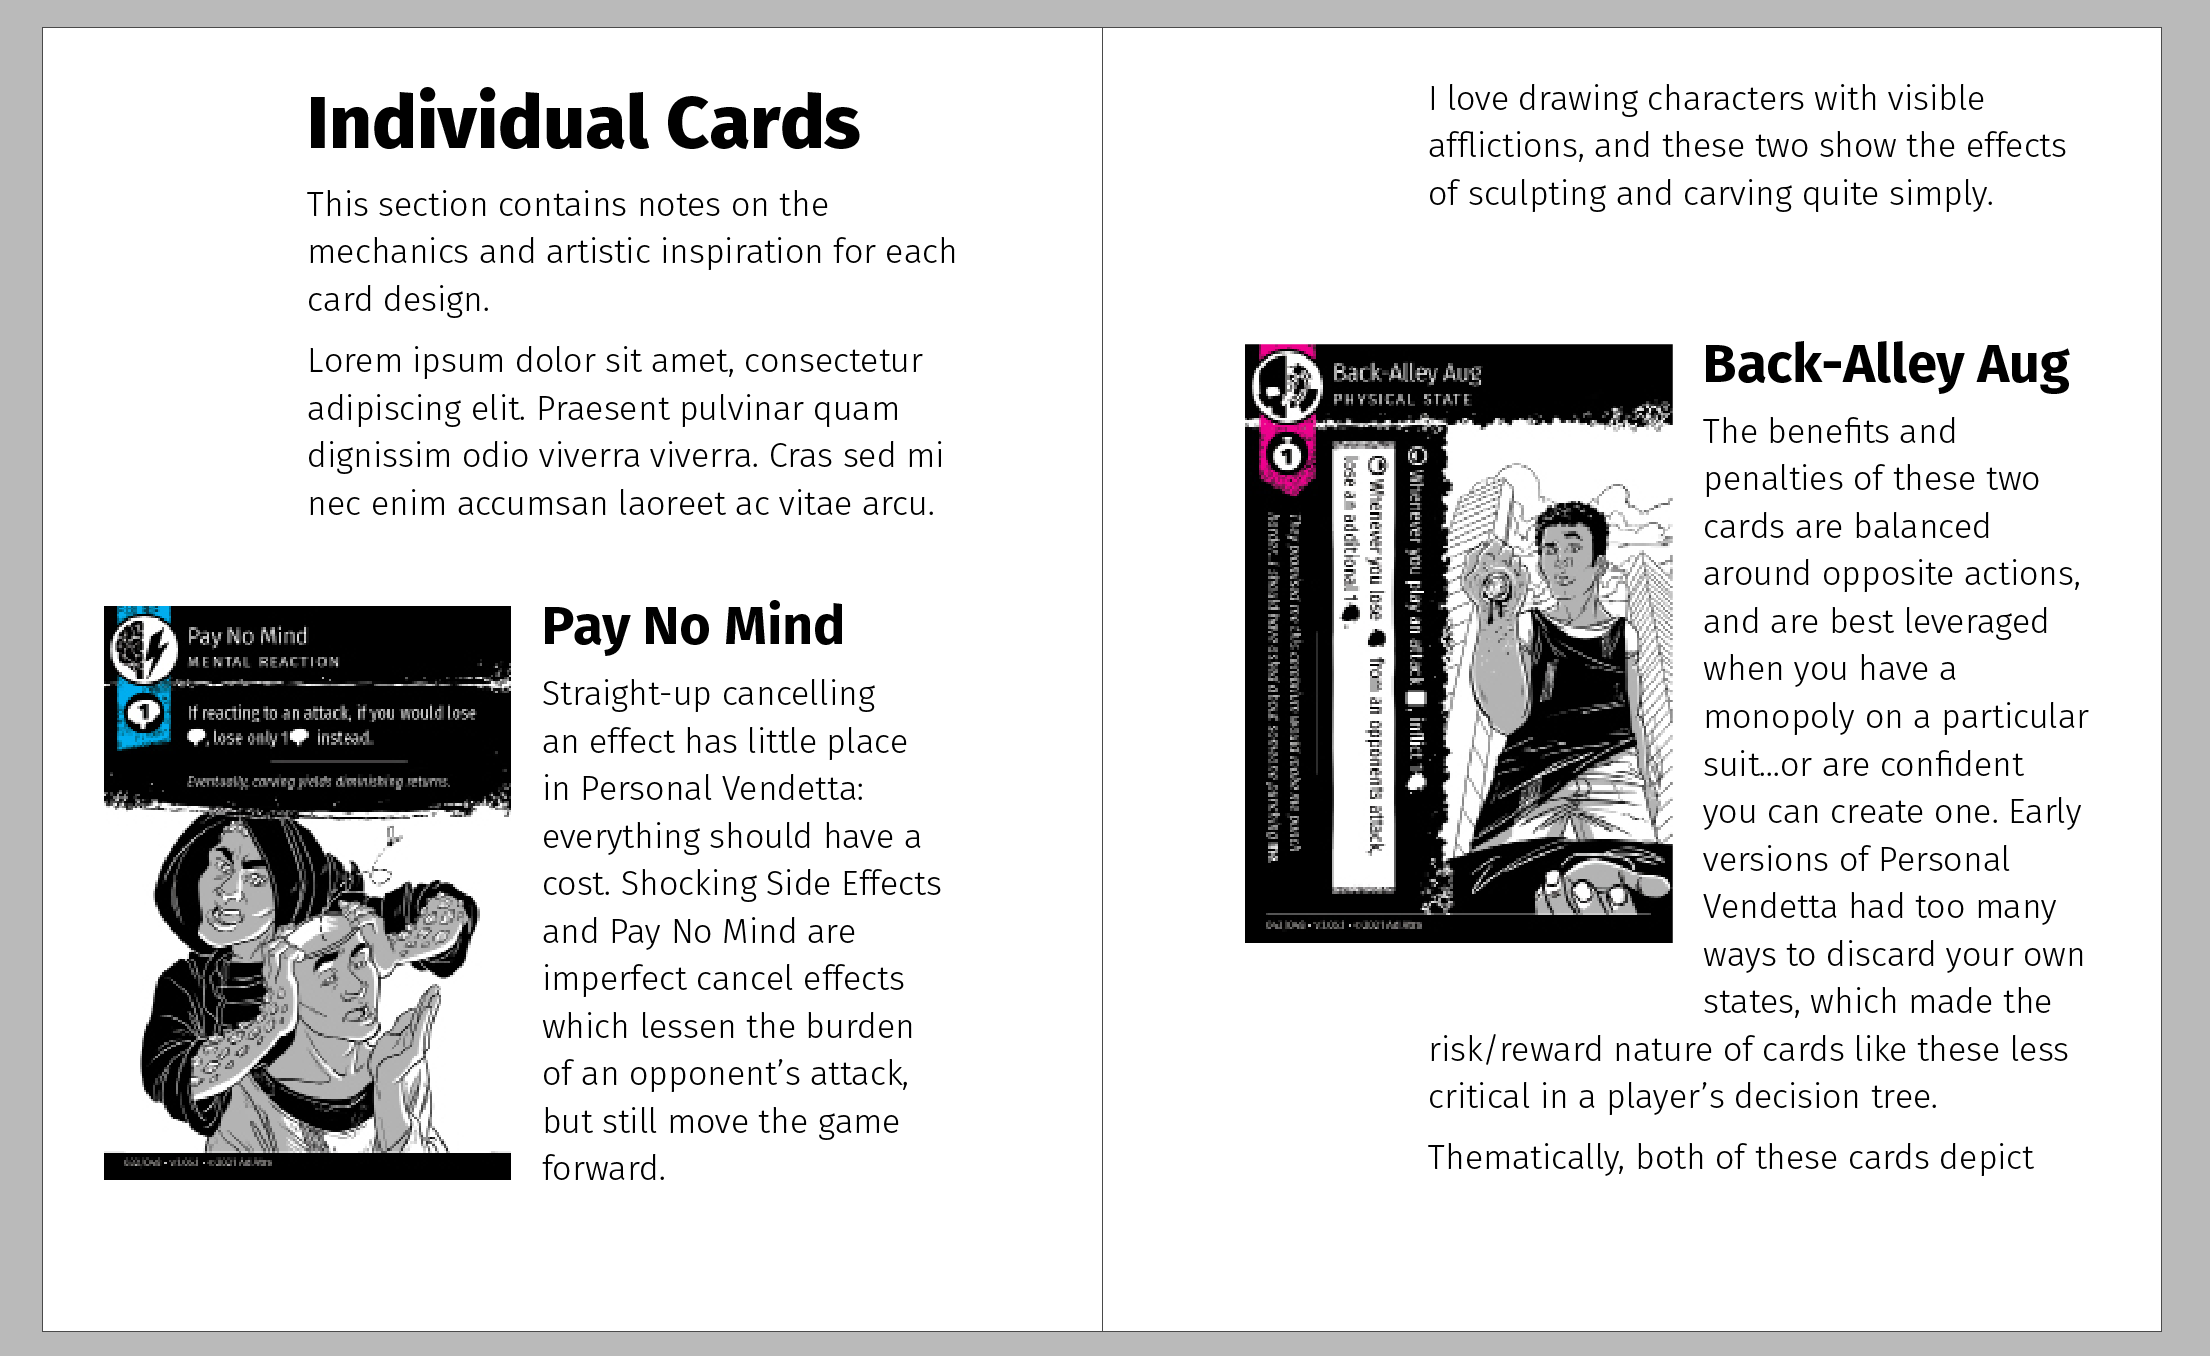
But, can it withstand changes to the copy?
It certainly can! Additional text didn’t break the layout — it moved the anchored image to the next page automatically!
Unlike the web, InDesign is intended for static, unchanging content. While this limitation doesn't affect designers who are content compilers, content creators must constantly revise their designs as they make changes to the content. This tutorial offers only one small technique, but when used in the right project will hopefully save the right designer tons of time. Check out the previous article in this series for more ways to use InDesign like a front-end developer:
• Leveraging the Power of HTML & CSS as a Graphic Designer, Part 1: InDesign Frames